
The walk-on diary
A walk-on rooflight, stage by stage
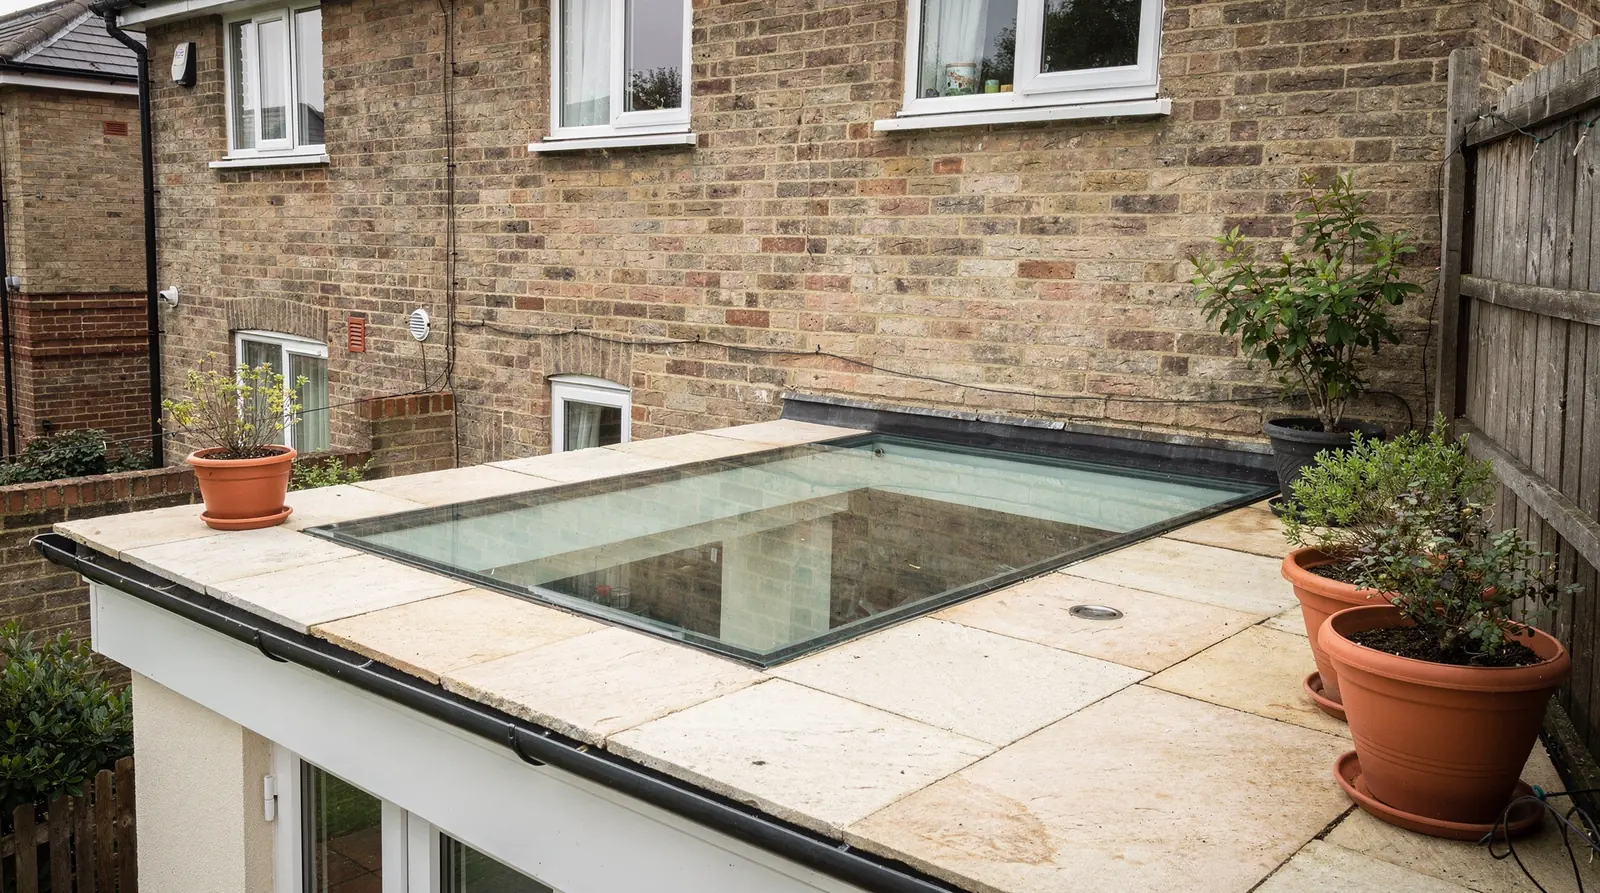
Here is a roof terrace job on the rear extension of a 1960s house in Covingham. The owners want daylight for the hallway beneath it and a terrace they can still walk across freely. The diary runs through seven stages, from the survey visit to the final certificate, and shows at each point the measuring, the recording and the dates that matter.
Stage 01 · The survey
A terrace, a dark hall and a floor to read
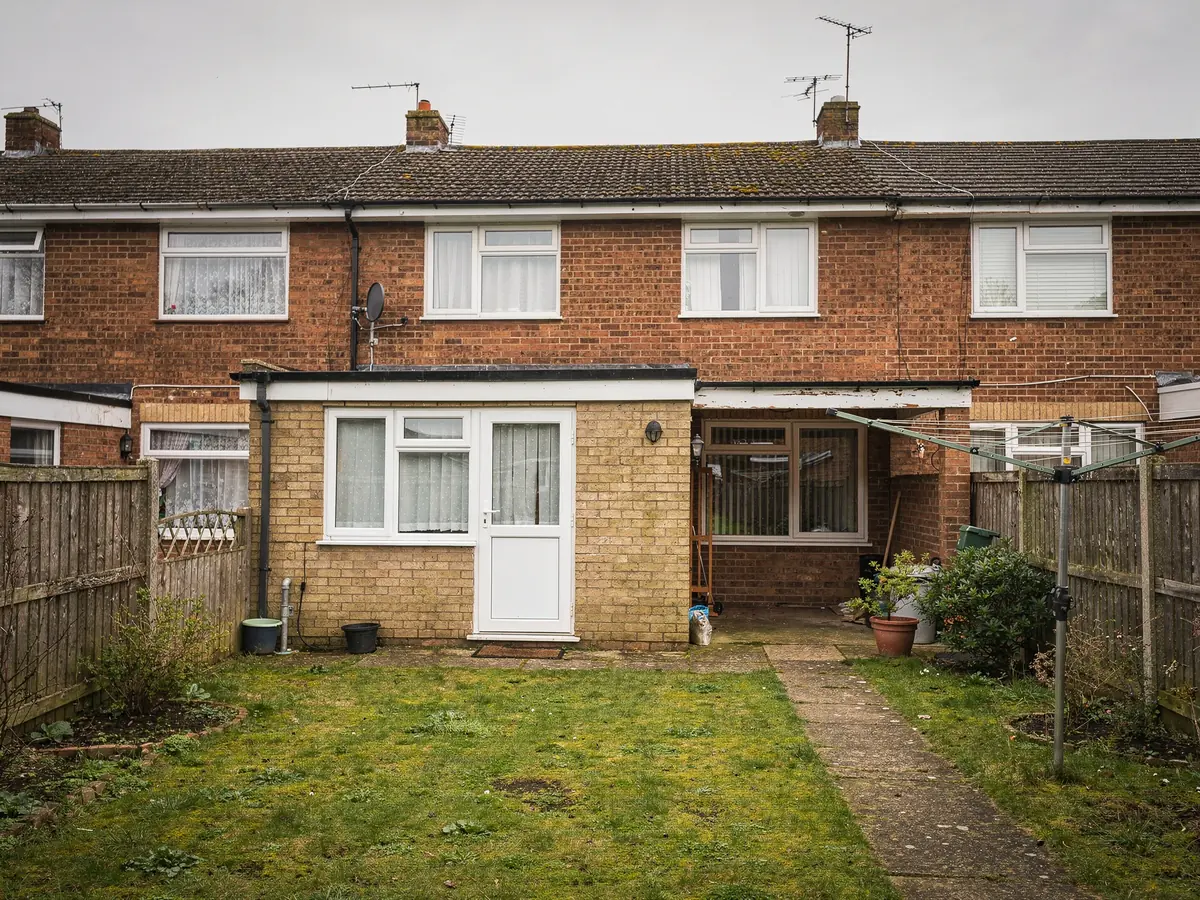
The house here is typical of Covingham, West Swindon and Park North: a 1960s brick home with a single-storey flat-roofed addition behind, finished years ago with a boarded top and a covering. The owners want to use that roof as a terrace. They also want the hallway under it to stop being a dim corridor, and a walk-on panel set in the terrace floor is the way to do both. Before glass is mentioned, the survey looks at the roof's construction and at what it can safely take.
We begin underneath. A hatch or a lifted ceiling tile shows the joists, with their depth, their centres and the direction they run. We record the span between the supporting walls, the deck above, the insulation in the void and any cables or pipes that pass through the area where the opening would be. A panel placed over a run of cable means moving the cable, and that goes on the job plan as an item with a reason.
Then we go up to the surface. We look at the covering, how it falls to the outlets, the height of any parapet and how the terrace floor has been built up on top of it. A walk-on panel has to sit flush with that floor, or close enough that nobody trips, so the make-up of the deck decides the depth of the frame. We measure the access too: the stairs or ladder route, the width of any gate, and where a lifting rig or a scaffold would stand.
Last comes the paper side. Address first: past applications on the house and any extension are read, and the street is checked for a conservation area or a condition attached to the original permission. We also ask what the room underneath is used for, since a bathroom or a bedroom below a glass panel changes how the owners want the glass finished. Back at the office, the notes are turned into the written plan that the rest of the job works from.
The survey reads the floor under the panel before any glass is chosen.
Recorded on the visit
- Joist depth, centres, span and run
- Deck, covering and the finished terrace build-up
- What lies in the void under the opening
- The room below and how it is used
- Access for glass, a lift or a scaffold
- Planning history and the street's position
Stage 02 · The load
Choosing a load rating for the people who walk on it
Walk-on glass is sold by what it can carry, and the number matters more than the look. Domestic units are specified to the manufacturer's loads, commonly a load of 1.5 kN/m² across the whole glass, together with 2.0 kN concentrated on a single spot, which is one heel or one chair leg. Those figures come from the makers of the glass, who test their own panels, so the exact rating for your unit is the one printed on its data sheet. The job plan quotes that rating next to the panel it belongs to.
The next question is who and what will use the panel. A hallway skylight crossed by a family and the odd delivery needs a different answer from a terrace where friends stand in a group with drinks. We ask about both on the visit. The companion guide on load ratings for walk-on glass unpacks the units, puts a kilonewton in plain terms, and says why the rating on the data sheet should not be stretched on a busy day.
A panel for people is not a panel for vehicles. Glass in a driveway or a yard that takes a car or a van is a different kind of product with a different structure under it, and we do not describe a domestic walk-on panel as one. If the survey shows that something heavier than foot traffic will cross the spot, the plan says so, and we talk through the alternatives before any glass is ordered.
Point loads are the part people forget. A planter, a barbecue or a table with four slim legs puts its weight on small areas, not across the whole panel. Where furniture is expected, the panel is planned so it sits off the main seating area, or the legs are given wider feet. Our answer on putting furniture on a walk-on rooflight covers the choices and what the makers advise on each.
| Load type | Commonly specified | What it stands for |
|---|---|---|
| Area load | 1.5 kN/m² | A group standing on the glass |
| Concentrated load | 2.0 kN | One heel, one chair leg or one planter foot |
| Vehicles | Not covered | Needs a different product and structure |
| Data sheet | Printed rating | The figure the job plan quotes |
Your walk-on rooflight job plan, in writing
- Unit
- Laminated walk-on glass panel with a sealed unit below, finish chosen at survey
- Size
- Opening and visible glass size fixed at survey and written side by side
- Permission
- Worked out for your address and written down
- Building Control
- Lodged by us, with the engineer's figures
- Lead time
- Set at the point of ordering
- Fitting day
- Opening and frame in part one, glass in part two
- Sign-off
- Completion certificate and the glass maker's warranty
Glass you walk on is sized from the joists up.
Load first
Stage 03 · The support
Building the frame the glass will sit on
A walk-on panel does not rest on the roof covering. It sits on a frame, and the frame hands its load down to the structure. On a terrace over an extension, that means the joists around the opening must carry the weight, and where the opening cuts through some of them, trimmers or a steel section are needed. Which one is needed comes from a structural engineer's calculation covering the framing around the opening, and the result goes into the job plan before the glass is ordered.
There are two usual ways to seat a panel. In a raised setting the glass sits on an upstand, a little higher than the finished surface, with a shallow step to walk up. In a flush setting the frame is recessed into the floor, leaving the glass at the same height as the terrace boards or the paving around it. Flush looks neater and needs more care with falls and drainage. Our answer on setting a walk-on rooflight flush with paving sets out how that is done.
Water has to go somewhere. Around any glass set into a floor there must be a fall that carries rain away from the frame and onto the drainage that exists, with a detail at the edge that stops water creeping under the panel. The membrane or covering is dressed up to the frame in the same way as the kerb of a rooflight, and it is made continuous so there is no gap for the damp to find. We draw that detail on the plan and agree it before work begins.
The room below matters too. The inside face of the opening is lined, and the lining is part of what you see from underneath. Where the panel is over a hallway or a bathroom, we plan the depth of the splay, the finish of the reveal and the position of any lighting near the opening. Inside and out are drawn together on the same sheet so the terrace and the ceiling are finished as one piece of work.
Raised on an upstand
- Glass sits above the surrounding finish
- A shallow step at the edge of the panel
- Simpler drainage at the frame
- Suits a terrace with a deep build-up
Flush with the floor
- Glass level with boards or paving
- No step, so a continuous walking surface
- Needs careful falls around the frame
- Suits a path, patio or tidy terrace
Stage 04 · The glass
Layers of laminated glass and the thermal limit
Every walk-on panel is laminated. Layers of glass are bonded together with interlayers between them, so if the top layer ever chips, the layers below carry on supporting the panel and the broken pieces stay held in place. The outer layers are heat-strengthened or toughened. The final build-up has more layers than the glazing in a window, and the data sheet gives the total thickness. Our answer on how thick walk-on rooflight glass is explains why the number looks large.
A walk-on panel in the roof of a heated house is also a rooflight, and it must meet the energy limit for rooflights. Across the whole unit, the figure to meet is 2.2 W/m²K (Approved Document L, 2021, Table 4.2, for existing houses). A thick laminated build-up with a sealed unit beneath it, in a frame with a thermal break, can be made to meet that. The figure for your panel comes from the maker's data and goes on the plan and with the notification.
The glass above a heated room is usually a sealed unit under the walk-on pane, so the stack has a walking layer on top and an insulating unit below it. That gap is what keeps the underside from misting in winter, and the whole assembly is made and delivered as one. For more on spacers, coatings and frames, see energy efficient rooflights; the same principles apply to a walk-on unit with the extra layers on top.
A large sheet of glass over a hall will let in a good deal of daylight, and on a south-facing terrace it can also let in summer heat. Solar control coatings reduce that. We discuss them at the survey, and the job plan lists the coating chosen alongside the glass thickness, so what arrives on the lorry matches what was agreed. A sample of the glass and its finish is shown at the survey, so the choice is made with the material in hand.
The order carries the load rating, the build-up and the thermal figure.
What size and specification do to the quote
| Panel size | How much glass, frame and cutting the job involves |
|---|---|
| Load rating | The number of layers and the support below |
| Structure | Timber trimmers, a steel section or a built recess |
| Surface finish | Dotted, fritted or etched top face |
| Glass coatings | Solar control or self-cleaning options |
| Access | Scaffold, lifting gear and the route for the glass |
Costs are left out on this page. A written quote follows the survey.
Stage 05 · The surface
Grip, finish and the feel underfoot
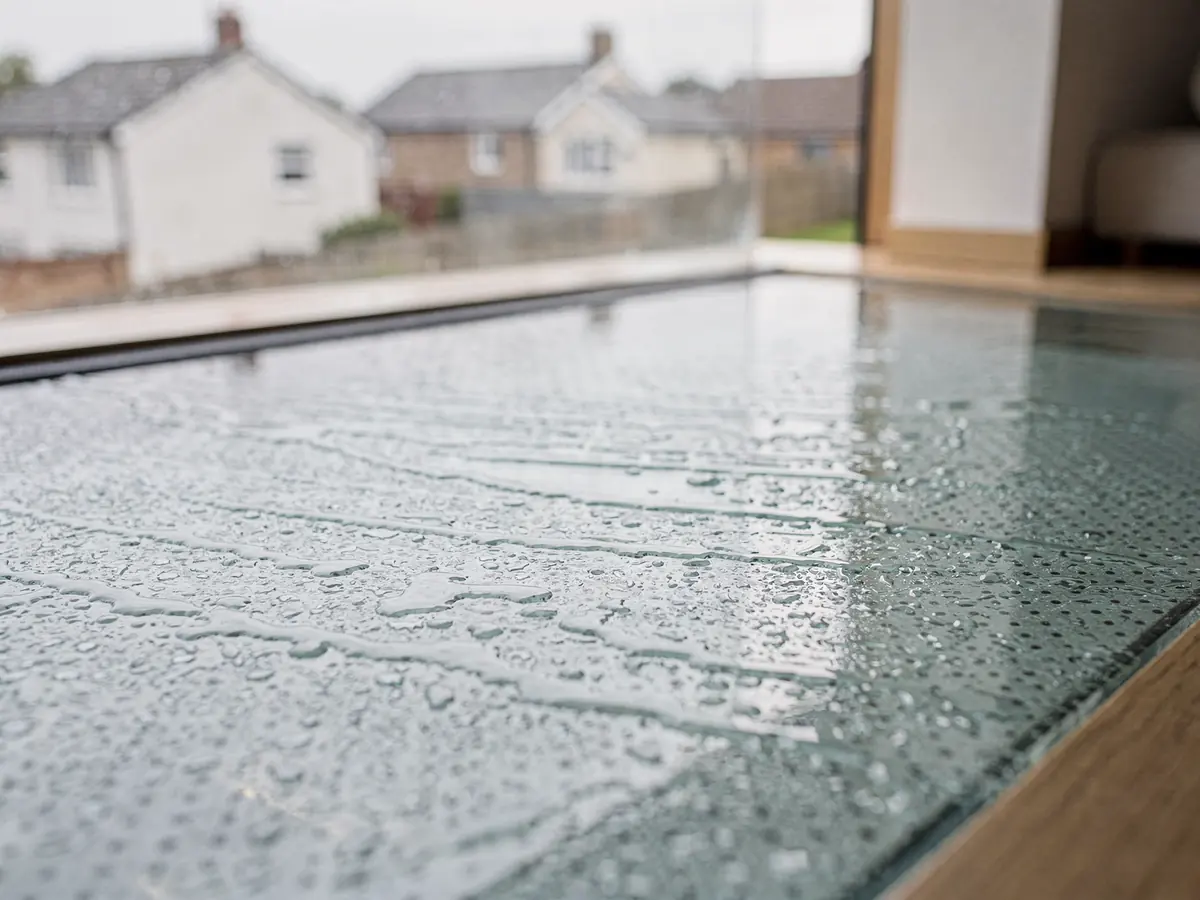
Clear glass underfoot is slippery when wet, and a terrace is wet for much of the year in Swindon. So the top face of a walk-on panel is given a finish to grip. The usual choice is a pattern of small dots fired into the surface, which gives a texture without hiding the glass. Others are an etched or frosted face and a sandblasted pattern. Each one affects how much daylight passes and how clear the view looks from the room underneath.
Our guide on finishes that add grip or privacy to walk-on glass sets the options side by side. The short version for the plan is this: dots grip well and stay clear between them, an etched face spreads the light softly and is more private, and a full sandblast is the most obscure and also the most forgiving underfoot. The finish is chosen at the survey with a sample in hand, because a picture on a screen does not show how it feels.
Privacy is part of the choice. A panel in a terrace floor over a bedroom or a bathroom can be seen into from above in the evening when the light is on below. An obscured finish stops that. The same finish also hides dirt and water marks on the upper surface. A clear panel in a hall floor, where nobody can look in, can keep the pattern light and let the room below have the brightest daylight.
Cleaning is easy but needs a plan. Dirt sits on a dotted surface a little more than on a smooth one, so a soft brush and warm soapy water is the usual routine. We leave you the maker's cleaning guidance with the rest of the paperwork, and we mention which products to avoid because some harsh chemicals dull a finish. Looked after this way, the glass stays good to walk on for the life of the terrace.
Stage 06 · The paperwork
Planning position and inspection route
A walk-on panel set flush into a terrace floor does not stand up from the roof, which helps the planning question, but it is not the whole question. For a house, the usual route is permitted development, and the limits are explained in the planning guide for rooflights. A roof terrace brings its own considerations, such as overlooking and whether the terrace itself is covered by the same rules, so we look at both for your address and report back in writing; the council decides.
Other things can change the position. Newer estates such as Priory Vale or Badbury Park can carry a condition on the first planning consent. Where one exists, it removes permitted development, and the notice appears on the council's online register. Where a house stands in the Railway Village, an Article 4 direction from the council is in force, so read its present wording before planning work. Listed houses require listed building consent for work touching their character. Flats and maisonettes do not have householder permitted development rights.
Planning and Building Control are two separate questions, and the second applies whatever the answer to the first. Cutting a walk-on rooflight into an existing roof or terrace counts as building work, since structure, energy performance and fire safety are all touched, and that makes it notifiable. The checking falls to the council or to a private approver on the register (the title is registered building control approver, in use from April 2024). We lodge the notification with the calculation and the glass data sheet, then book each inspection the approver wants.
The plan states the route up front so the route is known before fitting day: which body takes the notification, which documents go with it, which inspections fall on which stage and roughly when. A terrace panel over a heated room has the structure checked with the opening still exposed, which is another reason the sequence is set out ahead of time. If the panel is part of a new extension, we work to the extension's own drawings and approvals.
Checks made for this house
- Past applications on the house and extension
- A condition that took permitted development away
- Conservation area status and Article 4
- Listing status of the building
- Overlooking from a terrace and neighbours' views
- The Building Control body and its inspections
Stage 07 · The fitting
The glass goes in and the paperwork closes
The job splits in two. Part one is the opening and the frame: the room below is protected, the deck is cut, trimmers or steel go in, and the support frame is built and weathered into the covering. Each evening the opening is boarded and covered. Part two is the glass, which arrives on the day fixed at the time of order and goes in last. The answer on what a walk-on rooflight costs explains how those two parts show on the quote.
Glass day follows a set order. The panel is lifted to the roof by hand or with a lifting aid, checked against the frame for fit, and lowered onto its seating strips. It is bedded and sealed in place with the sealant named in the plan, the edge detail is finished against the terrace boards or the paving, and the surface is cleaned so you see the finish as it will look in use. The panel is tested for seat and level before the team comes down.
Inside, the lining is completed and the reveal is made good so the opening sits naturally in the ceiling. If a light or a vent sits near the glass, it is reconnected and tried. Then we walk you through the finished piece: how to clean the surface, how the edge drains and what the maker's advice is on loads and furniture. The roof is whole and the terrace usable before the team leaves.
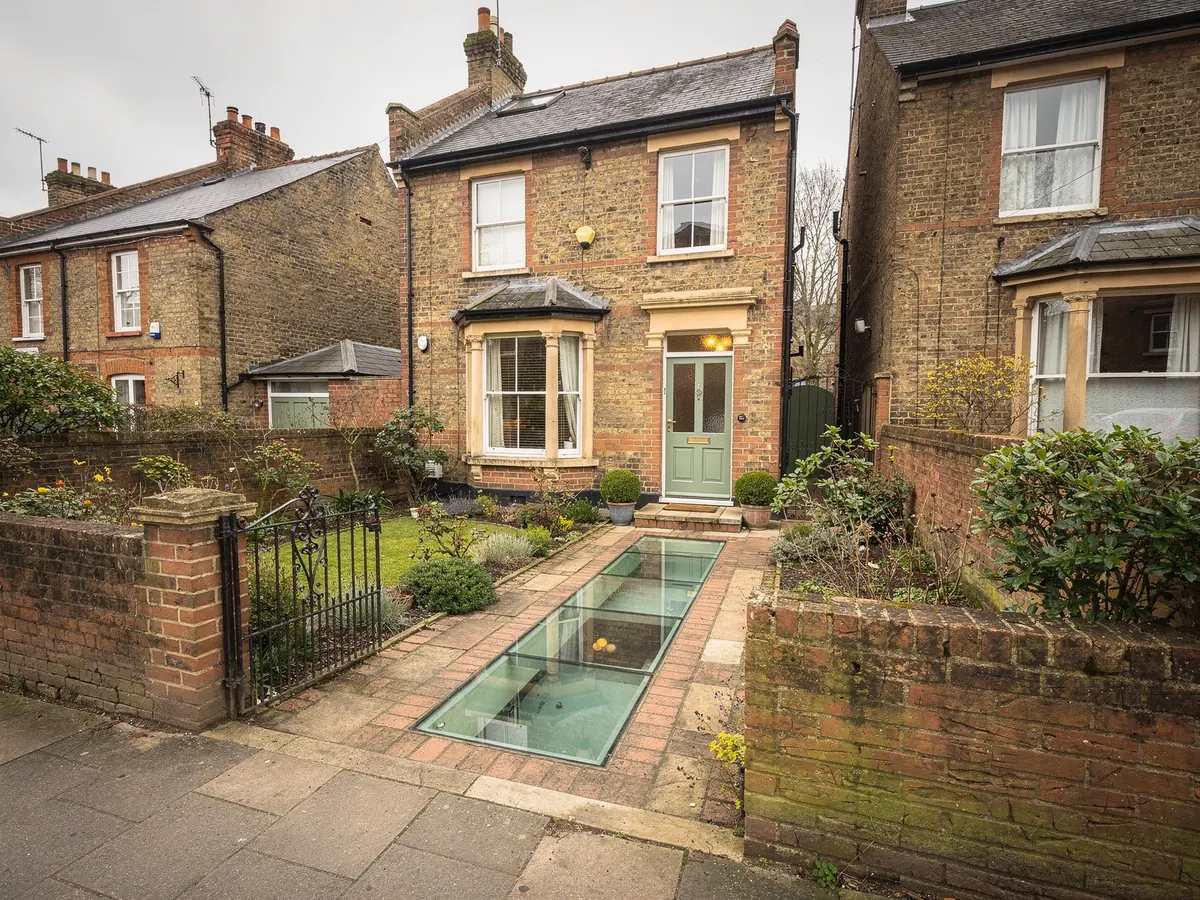
Where the panel lights a space under a path or patio, the day runs slightly differently. The paving around the opening is lifted, the frame is bedded into the ground build-up, and the glass goes in last. The answer on lighting a basement with a walk-on rooflight covers the extra points that come with a below-ground room, including ventilation to the space beneath the glass and drainage at the lowest edge.
Sign-off comes at the end. The approver makes the inspections the notification calls for, then issues a completion certificate to keep with the deeds. The glass maker's warranty follows with it. For a terrace as a whole, our guide to rooflights in a roof terrace or balcony floor shows how the panel fits the larger picture, and flat roof rooflight installation covers glass that is not for walking on. Our other work starts at our services across Swindon.
The panel is lifted in on the set day and the roof is shut that evening.
