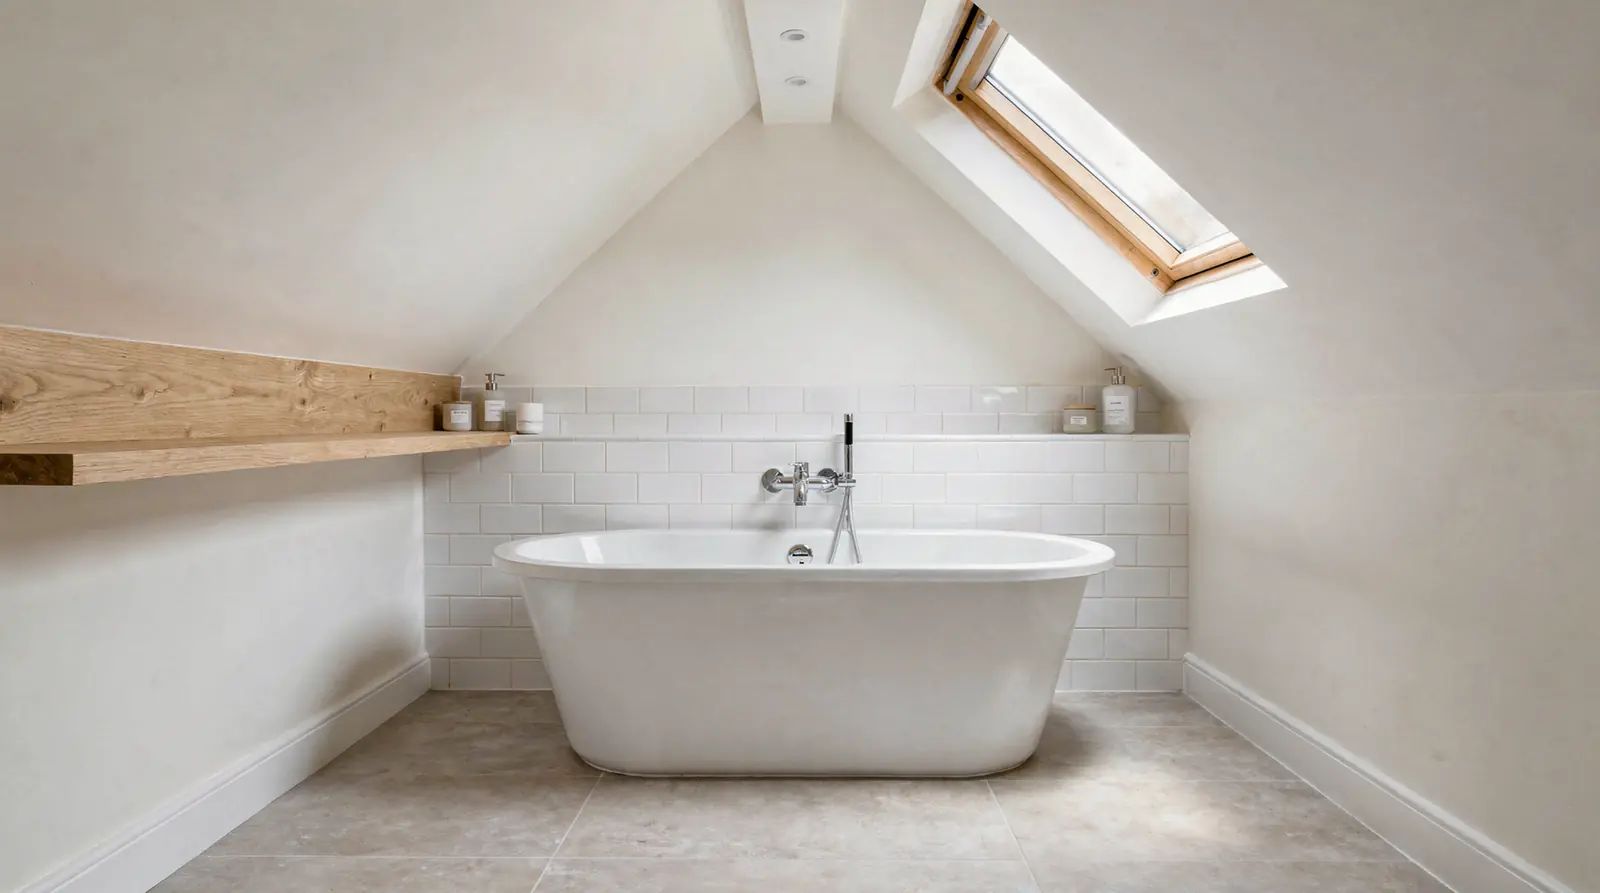


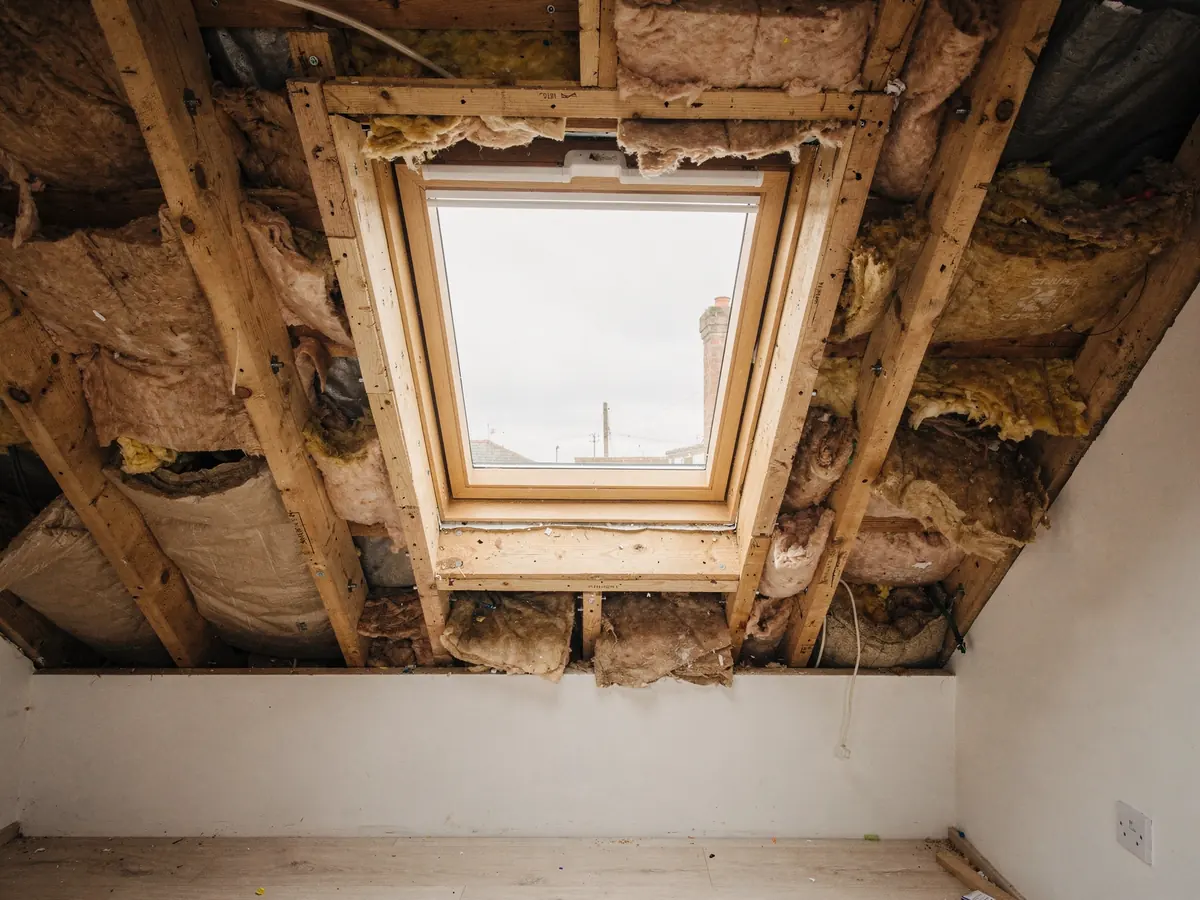
The project diary
A VELUX job in Swindon, from rafters to certificate
The job traced here is a loft in a Victorian brick terrace in Rodbourne, where the owners want two roof windows over a new study and a shower room. A one-for-one swap in a 1980s home runs the same way. Seven chapters take the work from the first rafter measurement to the final certificate, and each chapter shows what is looked at, what goes into the plan and which day the work lands on.
Stage 01 · The survey
A Rodbourne loft and a tape measure
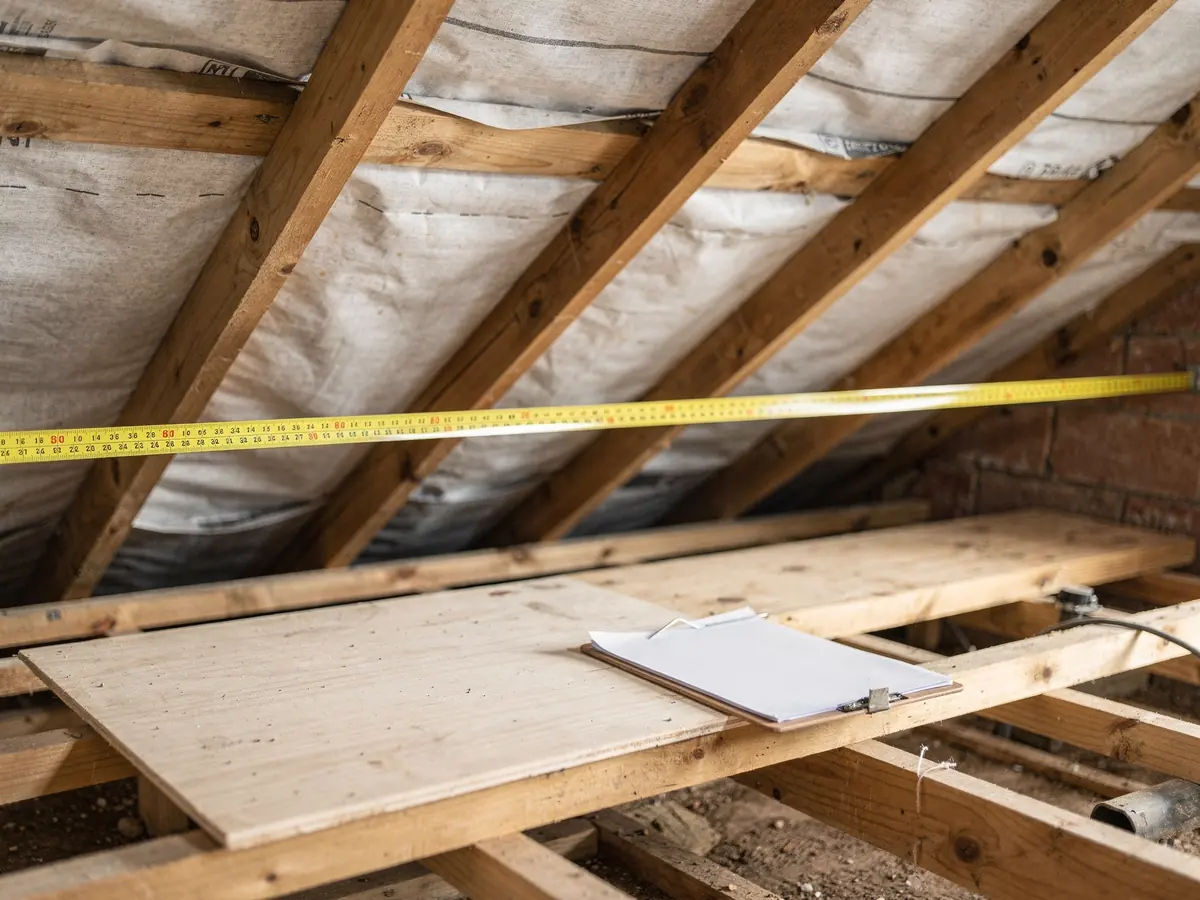
The example is a brick terrace in Rodbourne with a slate roof, a loft that has been boarded for storage since before the owners arrived, and a plan to turn it into a study and a small shower room. The back slope is the one that matters. It faces the garden, it carries no chimneys, and it can take two roof windows without disturbing the front elevation. The survey starts in the loft, because the rafters decide which windows are possible.
We measure the gap between neighbouring rafters, centre to centre and then clear gap to clear gap. Old terraces often have rafters that are not quite evenly spaced, and a window that fits one bay may not fit the next. We note the depth of the timbers, the pitch of the slope, the condition of the battens and the slate underneath, and where the purlin crosses the slope, because a purlin in the wrong place can move a window up or down the roof by a hand's width.
Outside, we look at the covering from the ground and from the loft hatch. Slate, concrete tile or clay: each takes a different flashing kit, and the pitch has to be within the range the window is made for. We check the access for a scaffold or a tower along the side passage, and whether the glass can be carried up to the roof or must be lifted. We also look for existing windows on the same slope, because their size codes tell us a lot.
The last part of the survey is paperwork. We note the address, read the planning history on Swindon Borough Council's register and see whether the street is inside a conservation area. The notes are then typed up as the job plan. The order, the fitting day and the sign-off are all taken from it.
The rafters decide which windows are possible.
Survey notes for the loft and the roof
- Rafter centres, depth and clear gaps between them
- Roof pitch, covering type and batten condition
- Where the purlin or ceiling joists cross the slope
- Plate codes on any windows already in the roof
- Access for scaffold and for lifting the glass
- Planning history and conservation status of the street
Stage 02 · The code
Reading the plate and the size code
A VELUX size code is shorter than it looks. Take MK04: the first letter fixes how wide the frame is, and the digits after it fix how tall. So MK04 is a mid-width window with a short height, and CK02 is a narrow one. The code sits on a data plate fixed to the frame, visible when the sash is open, and a photograph of it is the best starting point for any quote.
The grid behind the codes is regular. The letter C is 550mm wide, F is 660mm, M is 780mm, P is 942mm, S is 1140mm and U is 1340mm. The digits stand for height: 04 is 978mm, 06 is 1178mm and 08 is 1398mm. Those are the nominal frame sizes, and the table sets out the pairs we meet most often on Swindon roofs. The full grid and what each size suits are in our complete VELUX size grid.
Older windows can carry older codes, three digits such as 104, 206 or 304. They map to current codes, but the mapping is not always obvious, so we confirm it at the survey. If the plate is missing or painted over, we measure the frame and the opening and work back to the code from the grid. Our short answer on finding the code plate explains what to photograph.
For a new window the logic runs the other way. The rafter gap sets the maximum width, the room sets the height, and the code follows. A 550mm unit sits comfortably between rafters at 600mm centres, with room for the timber either side. A 780mm unit needs a wider gap, which usually means moving one rafter. Whichever it is, the plan states the code, the matching dimensions and the reason, so the crew do not have to work it out on the day.
A photograph does most of the work at quote stage. Stand under the window with the sash open, photograph the plate, then photograph the frame from inside and the roof from the garden. With those four images and the rafter gap from a quick measure in the loft, we can usually tell you whether the swap is simple or whether the opening needs reshaping, long before the survey day itself.
| Code | Width | Height |
|---|---|---|
| CK02 style (C width) | 550mm | Short, set by the digits |
| FK06 style (F width) | 660mm | 1178mm |
| MK04 style (M width) | 780mm | 978mm |
| MK08 style (M width) | 780mm | 1398mm |
Stage 03 · The unit
Choosing how the window opens and what it carries
Once the size is fixed, the owners choose how the window works. A centre-pivot sash turns about a mid-height axle, lifting its lower edge into the room as the upper edge goes out over the slates, and it can be rotated fully for cleaning from inside. A top-hung window hinges at the head and opens outwards, which leaves more clear space beneath it and suits a window above a desk or a bath. The plan records the choice.
Then the way it is operated. A manual window opens with a handle and a pole or a bar. An electric window opens with a keypad or a remote and a small motor in the frame, and it needs a cable run from the nearest supply, which we plan before the walls are closed. A solar window has a small panel and a battery in the frame and needs no cable at all. The compare panel sets the two apart. Which suits depends on how high the window sits and what wiring is already in the loft.
The glass specification matters too. The window can be ordered with a laminated inner pane, which stays in one piece on its interlayer if it is struck, and with a finish suited to the room: obscured glass for a bathroom, a heat-reducing coating for a south slope. The building rules do not demand laminated glass in a house roof, so we put it forward as a recommendation, and the plan states what you choose. Our answer on roof balcony windows covers the one model that opens out in two directions.
Finally the blinds. A blackout blind suits a bedroom, a pleated one suits a study, and a roller blind in the right fabric suits a shower room. They are ordered with the window so the blind matches its frame and the brackets are fixed when the lining goes in. Planning the blind at the start avoids finding, after the plaster has gone on, that the reveal is the wrong depth.
Position matters too. Windows set low give a view out from a chair or a bath, but they put the sash within reach of children and cleaners, while windows set high let in more sky and need an electric or pole-operated opening. We mark the height of the sill on the plan against a measured line on the wall, so the finished window sits where you expected it, and we check that the open sash will clear the furniture below.
Manual opening
- Handle at the top or bottom of the sash
- No cable or battery to plan
- Simple to maintain over many years
- Best within comfortable reach
Electric or solar opening
- Keypad or remote control from across the room
- Electric needs a cable run from a supply
- Solar needs no cable, only a panel in the frame
- Suits windows set high on the slope
Your VELUX job plan, in writing
- Unit
- VELUX roof window, model and opening type chosen at survey
- Size
- Code read from the plate, or set from the rafter gap
- Permission
- Position found for the address, then advised in writing
- Building Control
- Notified through us wherever the work needs it
- Lead time
- Confirmed when the unit and flashing kit are ordered
- Fitting day
- Agreed at order: half a day for a swap, longer for a new opening
- Sign-off
- Certificate from the approver, plus the warranty details
Read the code plate, match the flashing, then book the day.
Three checks
Stage 04 · The opening
Cutting the opening and framing it between rafters
A new roof window calls for an opening in the slope, and on a Victorian terrace that opening sits between two rafters that have held up the slates for well over a century. Done properly, it is framed so the rafters either side keep their load, and the cut ends are carried by a short header and a short sill fixed across the gap. The window sits in that frame, and the lining is built from it afterwards.
If the window is narrower than the gap, the opening needs only a header above and a sill below, and no rafter is cut. If the unit is wider than the gap, one rafter is trimmed and a doubled timber takes over its load. Either way the new window alters what holds the roof up, how much heat escapes and how people get out of the room, so the framing is checked as part of the Building Control notification. The job plan says which of the two applies.
Slates or tiles are lifted in a rectangle around the opening and the battens are trimmed back to the new frame. Underlay is cut in, folded up the sides of the frame and tucked beneath the covering above, so rain running down the slope is steered round the window. This part is hidden once the flashing is on, so the plan names it and the fitters photograph it before the collar is laid.
Inside, the opening gets a splayed lining or a straight one, meeting the ceiling and the sloping wall. Loft insulation is carried around the frame so no gap is left between window and roof build-up. Our answer on fitting a VELUX from inside the loft explains when the job can be done from the loft side and when a scaffold or tower is still the safer way to the roof.
The framing and underlay are hidden once the flashing is on, so the plan describes them first.
The underlay steers water running down the slope round the window.
Stage 05 · The flashing
Matching the flashing kit to the covering
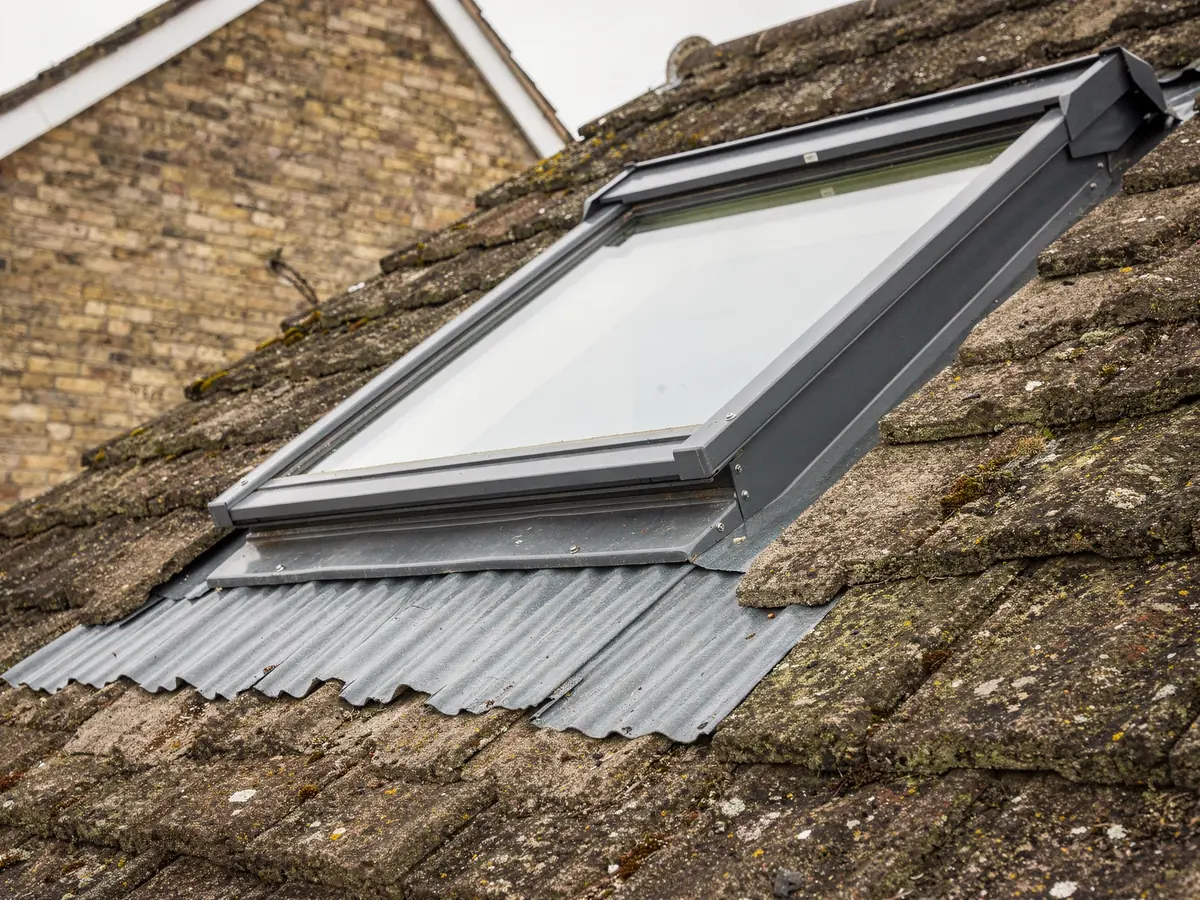
The flashing is the metal and rubber collar that ties the window frame into the roof covering. It looks like an accessory, and it decides how well window and roof work as one surface. Kits are made in different forms for different coverings. Profiled concrete tiles need one shape, plain tiles and slate need another, and each comes in more than one depth, depending on how far the window sits proud of the roof.
VELUX names the common kits EDW for profiled tiles up to a stated height, and EDL for flat coverings such as slate and plain tile. A recessed kit lets the window sit lower, closer to the plane of the roof, which gives a flatter look from the street and is popular where the front slope is visible. Combination flashings join two or three windows into one sheet. Our guide to VELUX flashing kits explains each in homeowner terms.
Generation matters when a window is being swapped. Old flashings were made to a different shape, and a modern window may not sit properly in them. Where the existing flashing is of an older pattern, the plan allows for a new kit as part of the swap, so the finished unit and its collar belong to the same family. We note this at the survey, check it against the plate, and write it on the order, which keeps the fitting day simple.
On the Rodbourne roof the slates are natural, so the plan names a slate flashing kit and a recessed depth to keep the new windows neat on the back slope. For each of the two windows, the kit is delivered with the unit and checked off against the order before anyone goes up. The flashing is chosen from the plan at the start.
There is also the question of what sits under the collar. On a slate roof the lower apron is dressed over the slates below, and the side pieces tuck under the courses at the sides. On profiled tiles the apron is shaped to follow the tile wave. The plan lists the kit by name, so what is delivered matches the covering on the roof.
| Roof covering | Flashing approach |
|---|---|
| Profiled concrete tiles | Kit with a deeper profile that follows the tile shape |
| Plain tiles or slate | Flat-sheet kit, dressed under the tile or slate courses |
| Low profile wanted | Recessed kit that sits the frame lower in the roof |
| Two or three units together | Combination flashing, one continuous sheet between them |
Stage 06 · Permission and sign-off
What the council and the approver need to know
On a house, roof windows usually fall under Class C of Part 1 in the General Permitted Development Order. The exact measurements sit in the planning permission guide for rooflights, and this page leaves them there. What the survey adds is the position for your street. The decision notice for the house shows whether a condition took permitted development away, as often happens on newer estates, and we read it before the order goes in.
Other things can shift the answer. Anyone ordering in Swindon's Railway Village should first ask the borough council for its Article 4 wording as it stands today. Work to a listed house that touches its character needs listed building consent first. Householder permitted development rights do not extend to flats or maisonettes. The council decides in the end, and we look at each point for your address and report what turns up.
Building Control is a separate matter. A window put into a roof that had none is building work, and so is a swap of the complete unit, frame and glass together, which counts as a controlled fitting and must be notified. A change of the sealed glazing unit alone is outside it. A new unit must meet the window limit for existing homes, set in Part L at 1.4 W/m²K, with a WER of Band B accepted in its place, and the data goes in with the notification. It goes to a registered building control approver chosen for the job, or to the council's building control team.
Escape matters if the room becomes a bedroom. An escape window serves only storeys up to 4.5m above ground level, so on a two-storey house the loft conversion gets a protected stair as its way out, not the roof window. On a bungalow or chalet bungalow the window may serve. The plan deals with both, and our guide to replacing a VELUX shows how a like-for-like swap is notified and what the approver asks to see.
Checks made for your address
- Planning history and any condition on permitted development
- Conservation area and Article 4 direction
- Listed building status
- Thermal limit for the chosen window
- Escape route if the room is a loft bedroom
- Building Control route and approver
Stage 07 · Fitting day
The day the roof opens, and the paper that follows
A swap and a new opening run to different timetables. According to VELUX guidance, a like-for-like replacement that keeps the internal lining can often be done in half a day. A new opening usually takes a day, because rafters are framed, the covering is cut in, the unit is fixed and the flashing is dressed. A pair, an electric unit or an awkward slope can take longer, and the plan states how long. Our answer on whether a new VELUX fits an old opening explains how that call is made.
On the day the sequence is fixed. Scaffold or tower is checked, the room below is covered, and the covering is lifted. The old unit comes out, or the new opening is framed. The window is set in its frame, levelled and fixed, underlay is dressed up the sides, and the flashing is laid course by course with the slates or tiles until the collar is complete. The sash is opened and closed, and any electric control is tried before anyone climbs down.
Indoors, the lining is fixed or the existing one is made good, insulation is wrapped round the frame and the blind brackets go on. We show you how the window opens, how to turn a pivot sash for cleaning and how to set it for airing. An opening unit helps to air a room, and used regularly it can reduce condensation. Before the team packs up, the slope is covered in again and checked from the ground.
The last stage is paper. Notifiable work goes to Building Control through us, and the approver issues a completion certificate for the house deeds. The maker's separate warranty details arrive with the certificate. Weighing the window against other units? Roof window installation covers the wider family, and what a VELUX costs to fit sets out what moves the quote.
