
The project diary
Conservation rooflight installation in Swindon, from survey to sign-off
We follow a cottage-style job here, beginning with the first measurement: a two-storey Victorian house with a slate rear slope and a cold, dark back bedroom under the roof. Seven stages cover the survey, the permission position, the specification, the position between the rafters, the glass, fitting day and the paperwork that closes it all off.
Stage 01 · The survey
Looking at a slate slope from inside and out
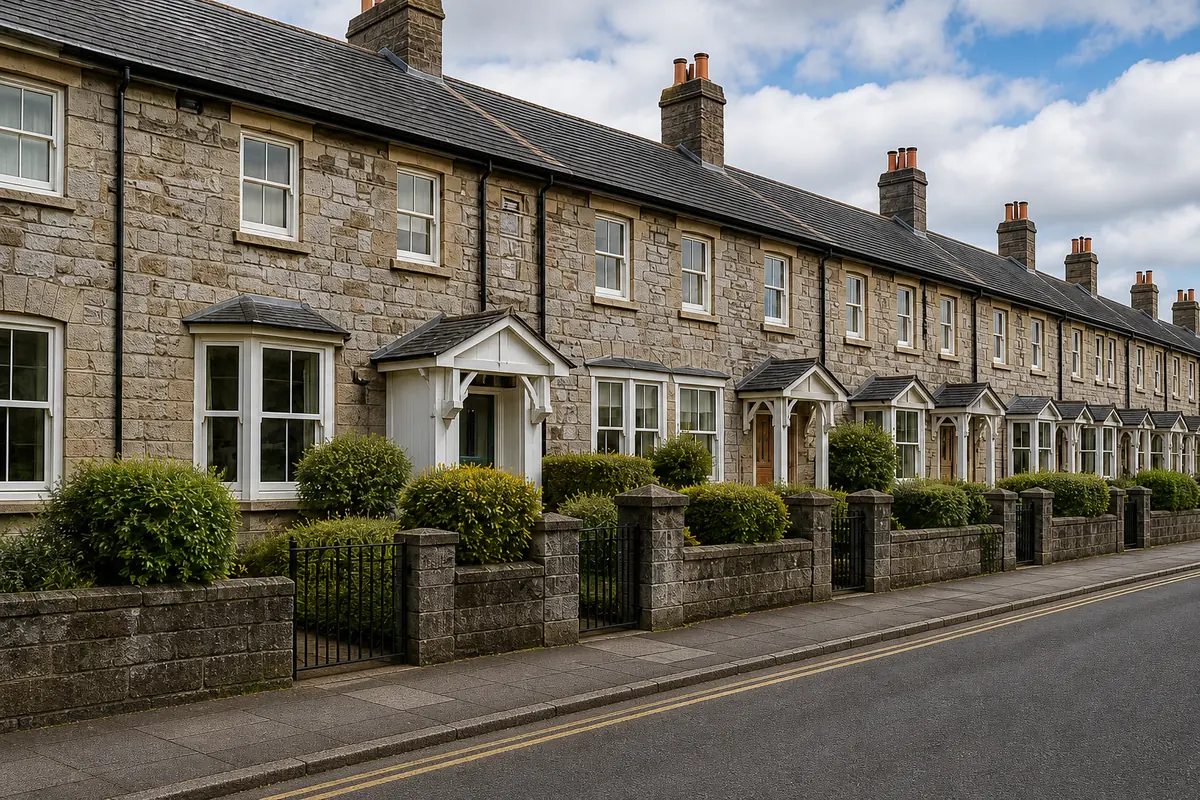
The house in this diary is typical of the older streets in Swindon: a Victorian cottage with stone or brick walls, a pitched slate roof and a bedroom under the slope with one small window at the gable end. The owners want a conservation rooflight over the bed so the room is brighter in the morning. Before we talk about frames or glass, the survey asks what the roof is built from and what lies behind it, because that decides whether the idea works at all.
Inside, we go up into the roof space with a torch and a tape. The rafters are measured for depth, spacing and condition, and we note whether there are purlins, collar ties or hip timbers running through the area the owners have in mind. Old timber is not always at tidy centres. A bay of 450mm and the next of 520mm is common, so the real figures matter far more than a catalogue size. We also record the insulation, the felt or boarding, and any cables or pipes running across the slope.
Outside, we look at the slates or tiles from the ground and, where access allows, from a ladder. We note the type of covering, the gauge of the courses, the ridge and verge details and the condition of the lead or flashing at any chimney. Photographs of each slope are taken, because the council's officer will look at the same views. We also check which slope faces the street, which faces the garden, and what a passer-by could actually see from the pavement.
Last comes the address itself. We look the house up on the conservation pages of the council website and in its planning register, and we ask whether it is listed. We note neighbouring roofs that already carry rooflights and the dates on their decision notices, since a precedent next door helps the owners and the officer alike. All of this becomes the first page of the job plan, which every later stage follows.
Measure the bays that exist, not the ones in the catalogue.
Recorded at the survey
- Rafter depth, spacing and condition
- Covering type, gauge and flashings
- Which slope faces the street
- Conservation area, Article 4 and listing status
- Neighbouring rooflights and their dates
- Room layout and ceiling lining below
Stage 02 · The permission
Who needs to be asked about this roof
Conservation area status does not stop a rooflight on its own. Class C permitted development can still cover a house inside a conservation area, provided the street has no Article 4 direction withdrawing it. Listed buildings have no such rights at all, and flats and maisonettes never have householder rights to begin with. A condition on an older planning permission can also take the rights away. So the first job is to find out which of these applies to the exact address, and the survey does that for you.
In Swindon the best known case is the Railway Village conservation area, where an Article 4 direction applies. If the cottage in this diary stood there, the owners would be told to read the current direction on the council's website and to talk to the council first, before any order. For those cottages, the Railway Village answer explains what to look for. Elsewhere we show you how to search the council's conservation pages and planning register, rather than assuming a rule that is not there.
Slope matters as well. Many councils are more relaxed about a rear slope hidden from the road and more careful about a front or side slope. The answer on front-slope rooflights in conservation areas goes through the difference. Where the building is listed, consent is its own application with its own paperwork, and the guide on rooflights on listed buildings covers the steps in order.
What we do is check, advise and write it all down. The council decides. If an application or consent turns out to be required, the plan states it and lists what goes in with it: photographs, a drawing of the slope with the rooflight marked, the product details and a short note on why the unit suits the roof. Nothing is ordered until the position is known, which means you never find out about a refusal after the glass has arrived.
The planning guide has the national rules in full, including the limits that apply to rooflights as permitted development, and we link to it here rather than repeat them: rooflight planning permission guide. National Landscape land, such as the North Wessex Downs, can reduce some rights, so for houses on the edge of the radius we say plainly to check with the council. The same careful reading is applied to every address, whether it is in Old Town, in a village or on a new estate.
| Situation | What it means for a rooflight |
|---|---|
| Ordinary house, no restrictions | Class C permitted development usually applies |
| Conservation area | Permitted development can still cover it, unless Article 4 intervenes |
| Article 4 direction | A planning application may be needed for the slope concerned |
| Listed building | Listed building consent, and no permitted development |
| Planning condition on the estate | The decision notice says whether rights were removed |
| Flat or maisonette | No householder rights; ask the council |
Your conservation rooflight job plan, in writing
- Unit
- Flush conservation rooflight, frame, bar and opening agreed at survey
- Size
- Matched to the existing rafter bay, with the trimming shown if needed
- Permission
- Looked up for your address: permitted development, an application or consent
- Building Control
- We notify; specification and thermal data go with it
- Lead time
- Fixed on the day of order
- Fitting day
- Opening, frame, flashing and glass in a single visit
- Sign-off
- Building Control certificate, then a ten-year guarantee on our workmanship
Ask the council first, order second, fit third.
The verdict
Stage 03 · The specification
Frame, bar and finish: what the council reads
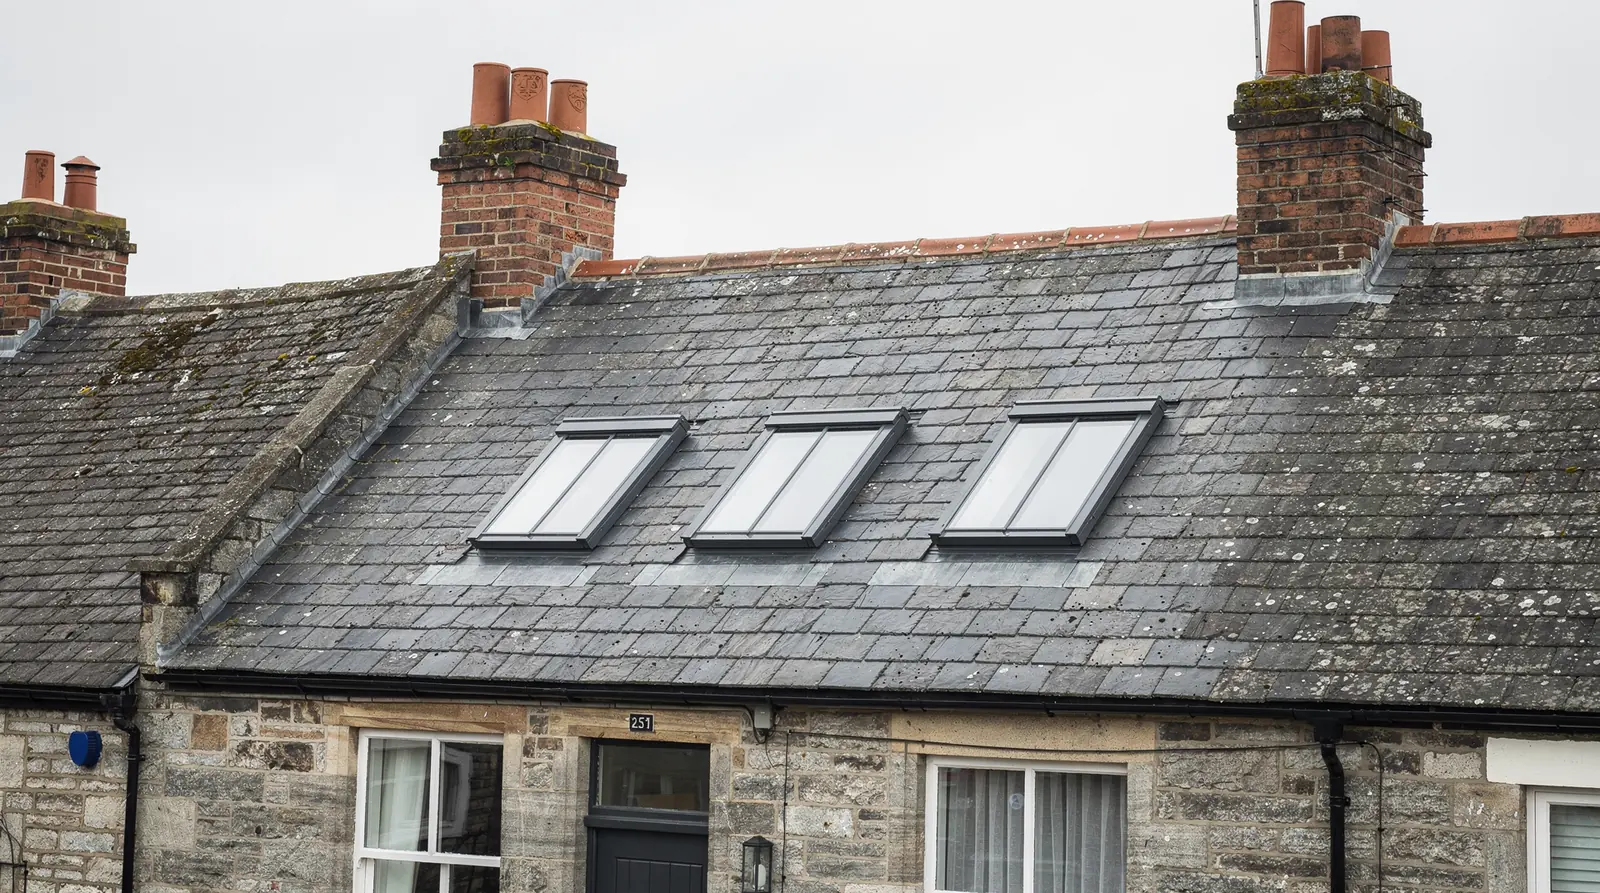
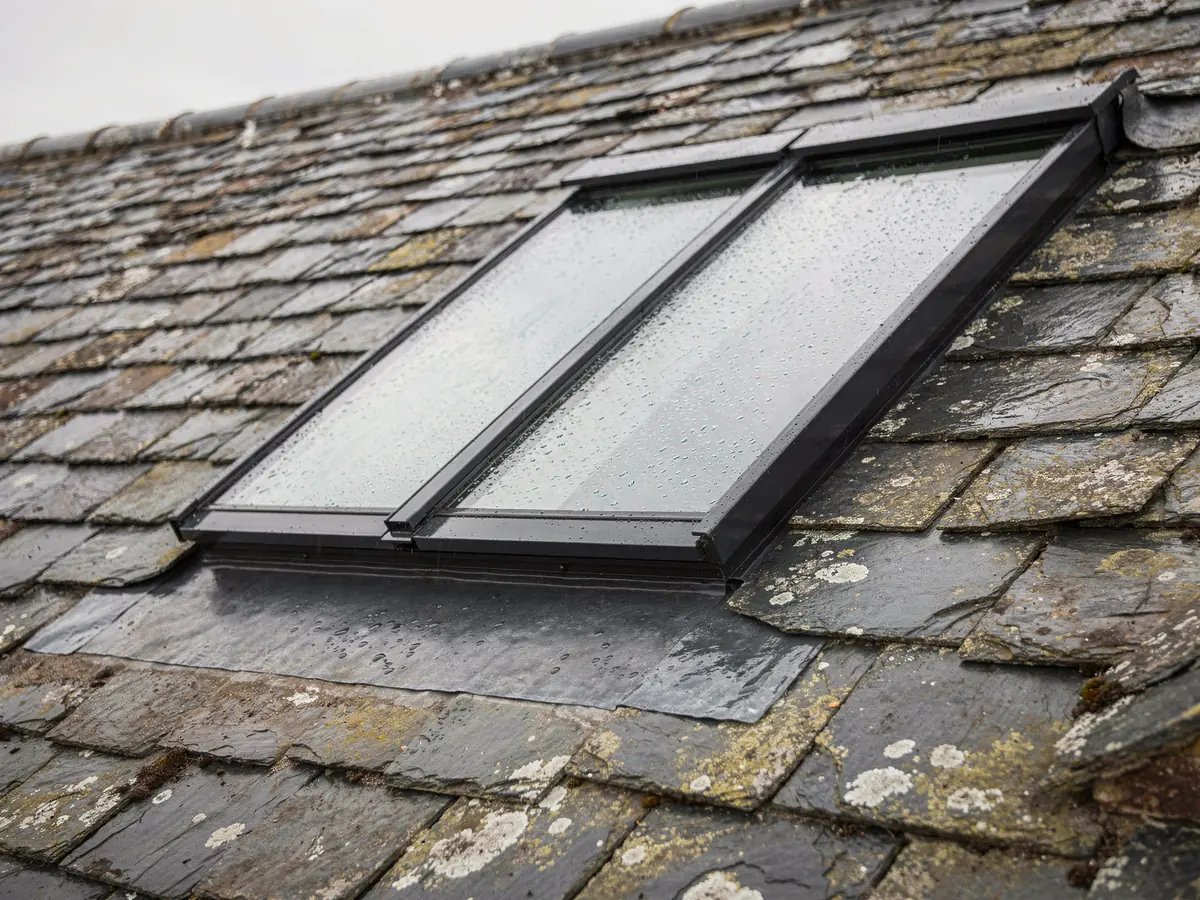
A conservation rooflight is a matter of looks and fit rather than one standard. The usual features are a slender dark frame, a fit that lies flush with the slates or tiles instead of standing proud, and a central glazing bar running down the slope in the pattern of the old cast-iron skylights found on Victorian roofs. Our guide on what makes a rooflight a conservation rooflight explains each part and why councils ask for them.
The central bar is the detail that surprises owners most. On a rooflight of this type it is not a decorative strip stuck on the glass. It is a structural part of the frame and it divides the glass into two panes, as the old skylights did. Officers often ask for it for exactly that reason, and a stuck-on bar may not satisfy them. The answer on whether a conservation rooflight needs a glazing bar sets out how to confirm the position before ordering.
Frame material is the next choice. Original rooflights were cast iron. Modern replicas are made in steel, often galvanised and powder-coated, or in aluminium with a thin profile. Each has its own weight, sightlines and finish, and each is judged on how it looks from the street. The answer on steel and cast-iron-style conservation rooflights looks at those differences in more detail, and we help the owners pick one to match the roof and the guidance.
Opening is a further question. Many conservation rooflights open on a top hinge, with traditional-style ironmongery, so the unit can be propped for ventilation. Others are fixed. An opening unit gives a room some air and can ease condensation; it is no answer to a damp roof space. The plan states clearly whether the chosen unit opens, how it is held and what its handle looks like inside the room.
The plan records all of that as a full specification: frame, finish, bar, opening, flashing and glass. If the council publishes its own guidance for conservation rooflights, we check each item against it. If you are weighing this style against a standard roof window, the guide to a conservation rooflight or a standard roof window compares them side by side, and our pages on roof window installation cover the standard option.
The council reads the spec, so the spec goes on paper first.
Conservation rooflight
- Flush with slates or tiles
- Slim dark frame with a central bar
- Often top-hung with traditional ironmongery
- Lead or matching flashing
Standard roof window
- Stands slightly proud of the roof
- Thicker frame and a wide flashing kit
- Centre-pivot or top-hung, no bar
- Often judged differently by officers
Stage 04 · The position
Placing the opening between old rafters
With the specification agreed, the next question is where on the slope the rooflight goes. The owners can see the bed and the wall from the room below, and the survey drawing gives the real rafter positions. We try the unit against that drawing and move it until it sits between rafters, away from the purlin and clear of the chimney. Where the rafters are narrow and awkward, a size that fits the existing bay saves a great deal of trimming.
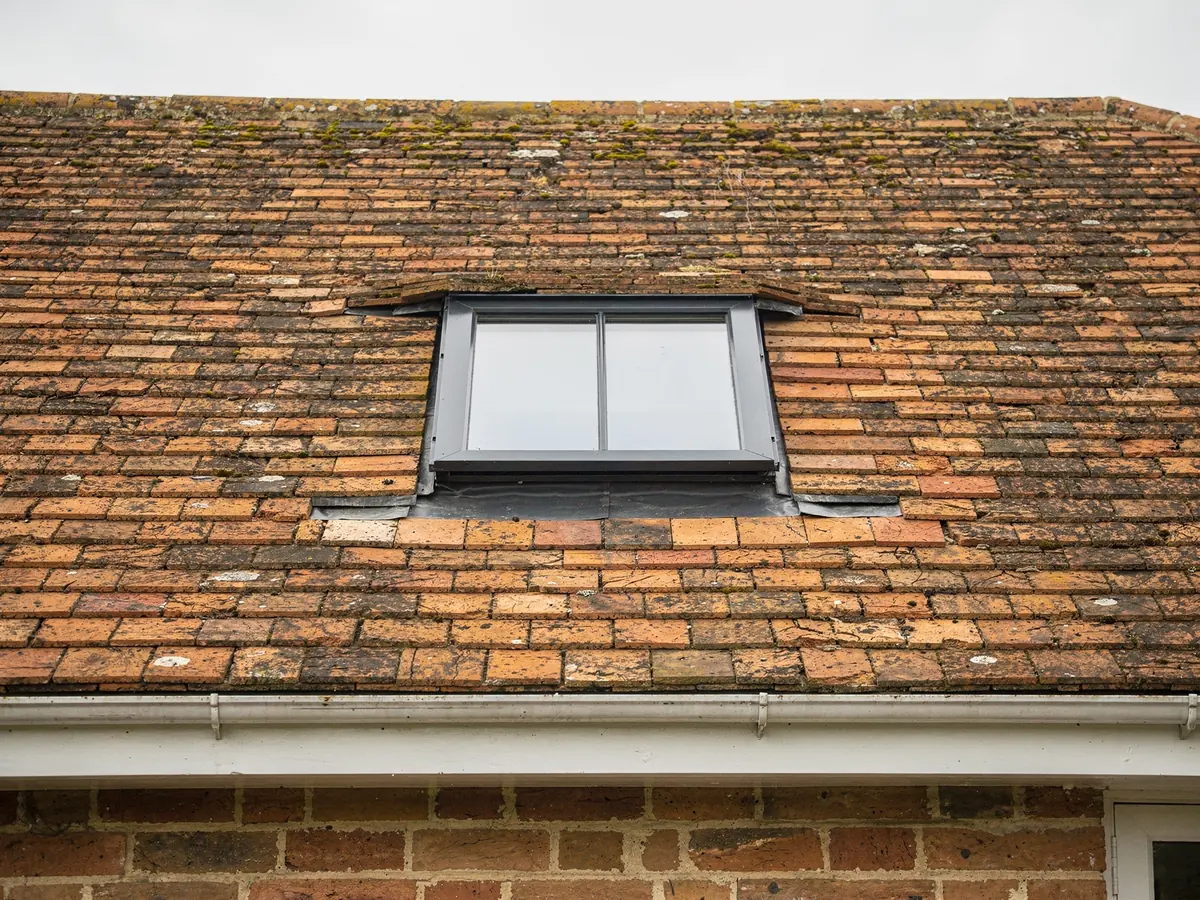
Slate and tile roofs also have a pattern, and the rooflight should sit within it. The best position lines up with the courses, so the cut edges of the covering run level with the frame rather than in a ragged line. Where a unit is placed high on the slope, near the ridge, the finished edge is easier to hide from the street. Placed low, it is easier to reach and to clean. The plan explains which choice has been made and why.
If the chosen size is wider than the bay between two rafters, one rafter has to be cut and carried. In that case a trimmer is screwed across the ends of the cut timbers, and the load is passed to the full rafters either side. The size of that trimmer, and whether an engineer's calculation is needed, depends on the span and the covering above. We put the answer in the plan, and anything the approver needs goes with the Building Control notification.
Weight matters on stone slate and heavy tile roofs. The covering around the opening has to be lifted and put back in good order, so the plan allows for spare slates or tiles to match, and for the lead soakers or flashings at the sides. The owners get a clear picture of how the roof will look when it is finished: where the glass will sit, how wide the margin of new flashing will be, and how the underside will be lined.
The room below is not forgotten. The lining, or splay, between the rafters and the ceiling is planned with the owners, and so is the height of the rooflight above the bed or desk. We keep to a position the council is likely to accept and a position that works for the room. When those two disagree, the plan says so openly, and the owners choose knowing both sides.
What the position and size change on the quote
| Unit size | The amount of frame, glass and covering to cut |
|---|---|
| Steel or aluminium | The frame material and its finish |
| Rafter trimming | Whether a rafter is cut and carried |
| Covering | Stone, slate or tile, and the matching needed |
| Flashing | Lead or matching flashing round the frame |
| Consent work | Drawings or an application where the council needs one |
Prices are not listed: the quote follows the survey, and the cost answer explains each factor.
Stage 05 · The glass
Glazing, thermal limits and the inside finish
Slim frames mean the glass does more of the work. These rooflights are built around sealed double-glazed units, and some makers offer a toughened outer pane with a laminated inner pane. Part K sets no laminated glass requirement for dwelling roofs. A laminated inner pane is a choice we advise, and the plan names whichever you pick. Anyone worried about slim sealed units on a heritage-style frame can ask for the maker's data before the order goes in.
Heat loss is governed by Part L (2021), where Table 4.2 covers existing dwellings. A roof window is held to the window figure and a rooflight to a looser one. Which category a conservation unit falls into is checked against the maker's information, and the matching figure goes with the notification. Our page on energy efficient rooflights has more on glass and frame performance.
Many owners ask whether a conservation rooflight can be double glazed without looking thick and modern. It can, and the glass sits slim in the frame, but a flush profile has less room for deep insulation than a raised one, and the trade-offs are explained in writing. We say so before the order, so you can compare one option against another rather than learning of a difference once the unit is on the roof.
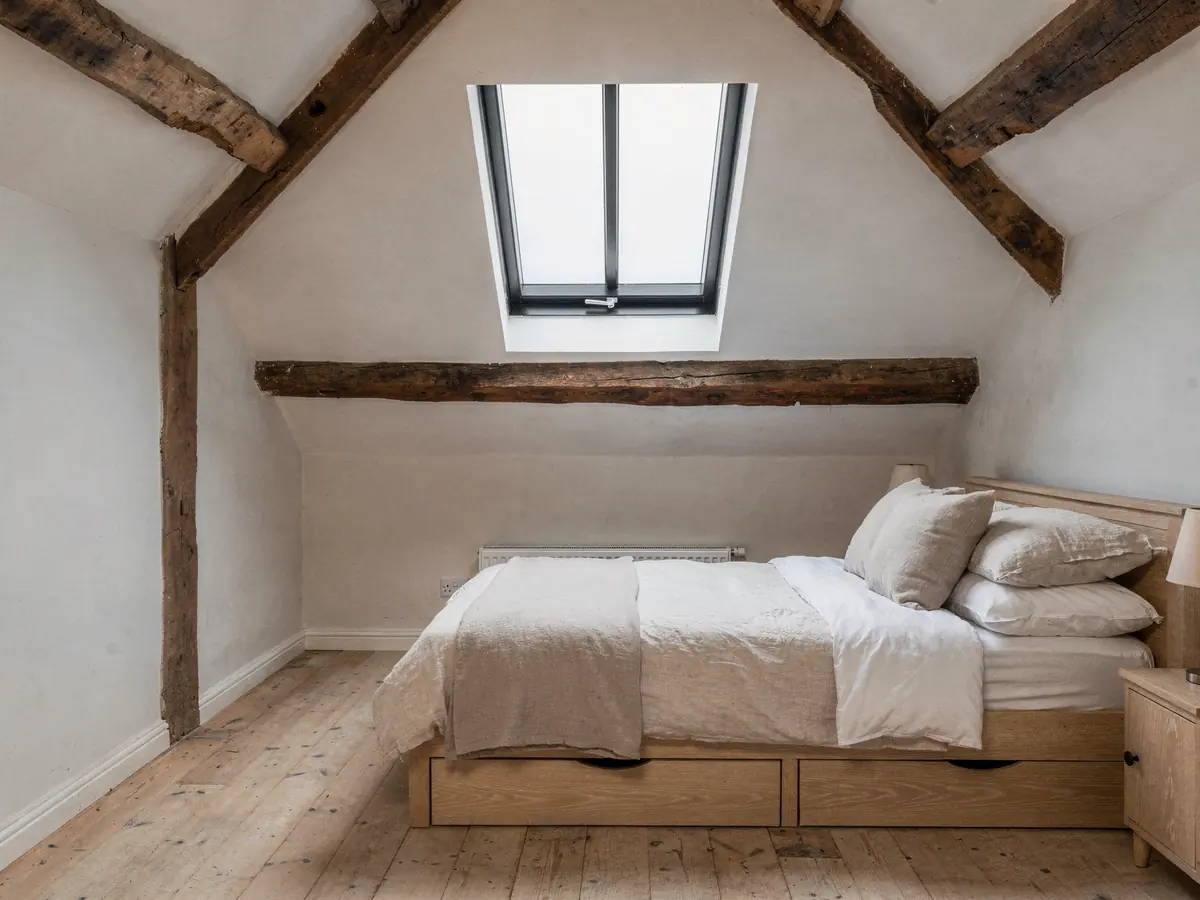
Inside the room, the lining of the opening is finished to suit the rest of the walls. Beams and sloping ceilings in an older house call for care at the edge of the opening. We agree the finish with the owners at the survey: a plastered splay, a painted board or a timber lining, with an insulated build-up behind it. The look of the room is as much a part of the job as the glass.
Finally, the plan names the details the council will ask about. Those include the frame colour, the finish on the bar and the style of the handle, along with the type of glass. If the unit is to have a blind or a screen, that is listed too, so the plan matches the order and the order matches what turns up on the day.
Slim frames put the weight of the performance on the glass, so the plan names it.
| Point | What we check | Status |
|---|---|---|
| Thermal limit | Window figure for a roof window, rooflight figure for a rooflight | Required |
| Sealed double glazing | Maker's data for the whole unit | Required |
| Laminated inner pane | Holds together on impact | Advised |
| Opening method | Fixed, or top-hung with a stay | Agreed at survey |
Stage 06 · Fitting day
Scaffold, slates and glass on the agreed date
Fitting day starts with the scaffold. On a pitched roof the team works from a platform at the eaves, with access along the side of the house or over the garden. The room below is protected with sheets, and furniture near the opening is moved. The date was fixed when the unit was ordered, and everyone involved, the scaffolders and the fitting team, has the same copy of the plan.
The covering comes off first. Around the planned opening the slates or tiles come up and are stacked for reuse, with any damaged ones set aside and matched from the spare stock. Battens are cut back and the rafter positions are marked on the felt. Where a trimmer is needed it goes in now, fixed to the neighbouring rafters with hangers, and the opening is framed to the size on the plan. The opening is never left unprotected overnight.
Then the unit is fitted. The frame is set into the opening so that the glazed surface ends flush with the covering around it, and fixed to the timber with the maker's brackets. Underlay is lapped over the frame and flashings are dressed to the sides. Lead soakers, or matching flashing in the case of the maker's own kit, are tucked under the slates and turned over the frame. Each slate or tile is replaced in its course, so the finished edge follows the lines of the roof.
Inside, the lining is built and finished. The insulation behind it is fitted to the depth that the plan states, and the plasterboard or timber is closed up so the opening is neat. If the unit opens, the handle and stay are adjusted and tried with the owners. We show them how to open and close it, how to clean the outside from the inside where the design allows, and what to do about the blind.
By late afternoon the slope is covered again and the scaffold stands ready to come down. Heavy rain forecast for the day moves the date ahead of the first slate coming off, and nobody leaves a bare opening overnight. Dates fixed weeks ahead hold better than a plan made up that morning.
The order of the day
- Scaffold up and the room below protected
- Slates or tiles lifted and stacked
- Trimmer fitted and opening framed
- Rooflight set flush and flashed
- Covering replaced course by course
- Lining finished and the unit handed over
Stage 07 · Sign-off
Paperwork, Building Control and the written guarantee
Putting a new rooflight through a roof that already stands is a building operation: structure, heat loss and fire are involved, so the job is notifiable. Building Control is handled by either the council or a registered approver (the term since April 2024). Our team files the notification, includes the specification and lines up the approver's inspections, so nothing is discovered after the scaffold has gone.
Exchanging a complete unit, frame plus glass, is a controlled fitting and therefore notifiable; exchanging only the sealed glass is not. That difference matters to owners who already have a conservation rooflight and want to refresh it. The survey establishes which category the job falls into and the plan says which route will be followed.
If the council has granted consent, any conditions on the decision notice are written into the plan, and the work is checked against them. Where a condition asks for a particular finish or a sample, that is dealt with before the order. The completion certificate from Building Control belongs with the deeds, and so does the decision notice from the council. We give owners a clear list of what to keep.
At the end you receive the guarantee on paper: ten years on our workmanship, meaning the opening, the framing, the flashing and the fitting of the unit. The rooflight has its own manufacturer's warranty, and its details are included in the handover papers. Everything about the job then sits in one place, and a later buyer's solicitor will find it easy to read.
If you are still deciding, the cost answer on what a conservation rooflight costs explains how a quote is built, and our page on VELUX window installation covers the standard roof window option for roofs without conservation constraints. For the full list of what we fit, see our services overview. Or start at our skylights and rooflights across Swindon.
A rooflight the council has read about before it is ordered is one you never have to take back off the roof.