


The project diary
Roof lantern installation in Swindon, stage by stage
Follow a lantern job on a typical Swindon house: a 1970s semi in West Swindon with a flat-roofed kitchen extension and a dark middle to the room. Seven stages take it from the first tape measure to the Building Control sign-off, and each one shows what gets checked, what gets written down and what happens on which day.
Stage 01 · The survey
A dark kitchen and a flat roof to measure
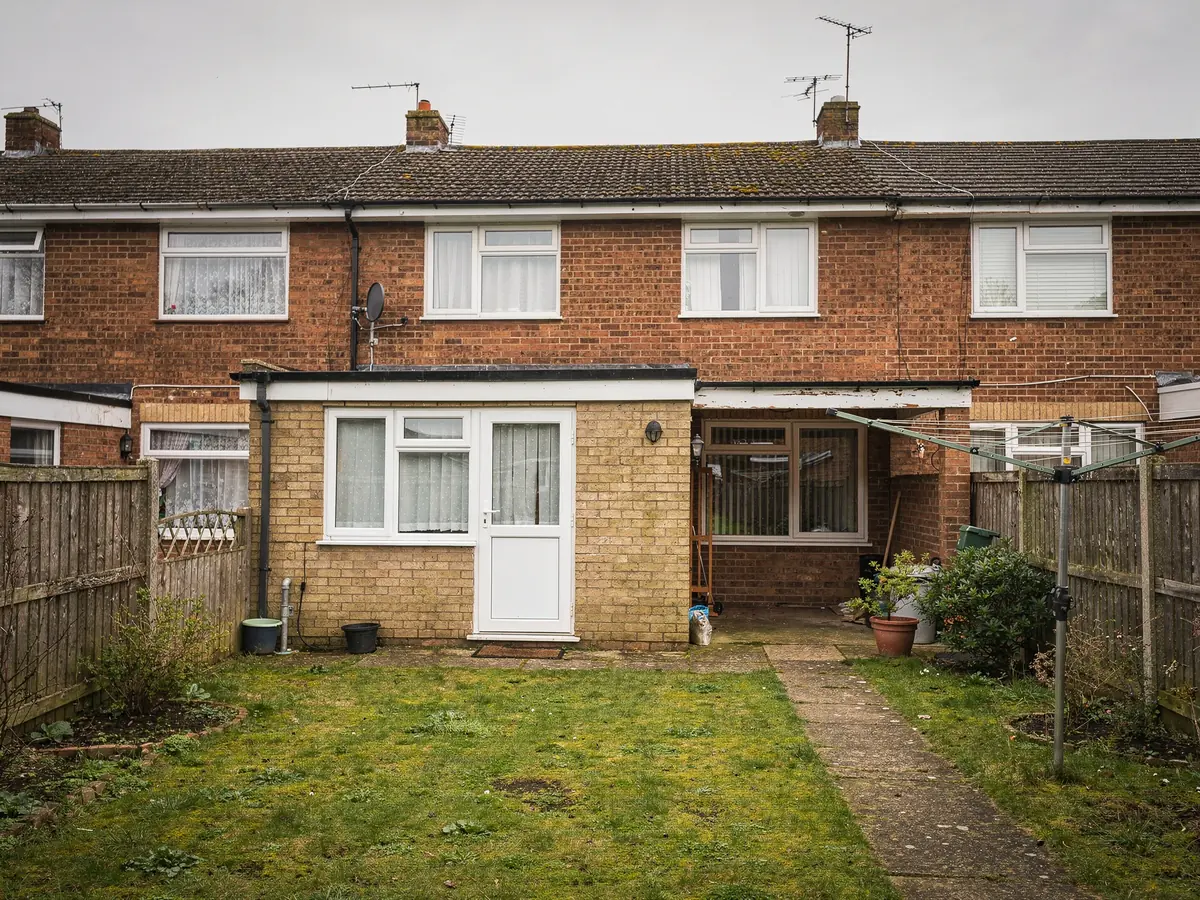
The house in this diary is the kind found all over West Swindon, Covingham and Park North: a 1970s brick semi with a single-storey kitchen extension at the back, flat-roofed and a few decades old. The extension made the kitchen bigger and the middle of it darker. The owners want a roof lantern over the table, so the room stops relying on one window at the far end. The first thing the survey looks at is the roof the lantern has to sit on, because that roof decides most of the other choices.
We start inside. A ceiling hatch or a small inspection hole shows the joists: their depth, their spacing and which way they run. A joist that runs front to back across the room means the opening will cut through several of them, and each cut joist has to be carried by something else. We note the span from wall to wall, the thickness of the deck boards and whether there is any insulation in the void. Cables for the downlights and the extractor duct are marked too, so nothing catches the fitters out later.
Then the roof itself. We look at the covering (felt, EPDM rubber or GRP fibreglass), how old it is, how it falls to the gutter and how the edge trims are fixed. A lantern kerb has to be tied into that covering, so its condition matters. A sound covering can be cut and dressed up a new upstand. A tired one close to the end of its life is often better replaced at the same visit, and we say so in writing rather than leaving it to be found on fitting day.
Last comes the paperwork side of the survey. We note the address, look up the planning history of the house and the extension, and check whether the street sits in a conservation area. We measure the access down the side of the house for scaffold and for carrying the glass, and we photograph the roof, the ceiling and the room. All of it goes back to the office and becomes the job plan that the order and the fitting day are worked from.
Everything else on the job starts from the roof the lantern sits on.
What the survey records
- Joist size, spacing, span and direction
- Roof covering type, fall and condition
- Room layout under the planned opening
- Access for scaffold and for lifting glass
- Planning history of the house and extension
- Cables, ducts and fittings in the ceiling
Stage 02 · The opening
Cutting the opening and carrying the roof
A roof lantern needs a hole in the roof, and on an existing extension that hole is cut through joists that are already carrying the deck, the covering and anything that lands on it. Every joist that is cut has to hand its load to something. In timber that something is a trimmer: a doubled or heavier joist running across the ends of the cut ones, fixed with hangers to the full joists either side. Where the opening is wide or the span is long, the answer can be a steel beam instead.
Which one this job needs comes from the engineer's calculation. Where the opening is cut into an existing roof, we have an engineer's calculation done for the structure around it. The engineer looks at the joist size, the span, the opening size and the weight of the lantern itself, which is far heavier than the piece of deck it replaces once the glass is in. The calculation says what goes in, how big it is and how it bears on the walls. That sheet goes with the Building Control notification.
On the West Swindon kitchen, the joists run front to back and the planned lantern sits across three of them. Whether trimmers are enough or a steel is needed depends on the numbers the engineer works out, and either way the answer is written into the job plan before the order goes in. Our answer on when a roof lantern needs a steel beam explains how that decision is made and why a rule of thumb is not used for it.
A new extension is simpler. If the lantern is designed in from the start, the architect or engineer frames the opening when the roof is built, and the kerb goes on at the same time as the deck. A retrofit takes more thought, and the page on adding a lantern to an existing flat roof covers the extra steps: trimming, temporary props while the joists are cut, and keeping the kitchen below usable while the work goes on above it.
The structure also changes the ceiling below. Where trimmers go in, the ceiling around the opening is cut back and made good once the timber is fixed. Where a steel is needed, it may sit within the depth of the joists or show as a small boxed beam, and the engineer's drawing says which. Fire protection to the steel is part of what the approver inspects. We mark that on the plan as well, so the owners know what the finished ceiling will look like before the first board comes down.
Timber trimmers
- Smaller openings across shorter spans
- Doubled or bolted joists either side
- Sized from the engineer's calculation
- Built into the roof by the fitting team
Steel beam
- Larger openings or longer spans
- Carries cut joists across a wide gap
- Specified by the structural engineer
- Bearings and fire protection inspected
Your lantern job plan, in writing
- Unit
- Aluminium roof lantern, shape and frame colours chosen at survey
- Size
- Internal kerb opening fixed at survey, external size stated beside it
- Permission
- Checked for the address: permitted development or an application
- Building Control
- Notification made by us, engineer's calculation attached
- Lead time
- Confirmed at order
- Fitting day
- Opening and kerb first, then the lantern on an agreed date
- Sign-off
- Completion certificate and the paperwork for the unit
Open the roof only once the beam and the kerb are drawn.
Lanterns in one line
Stage 03 · The kerb
Building the kerb and weathering it in
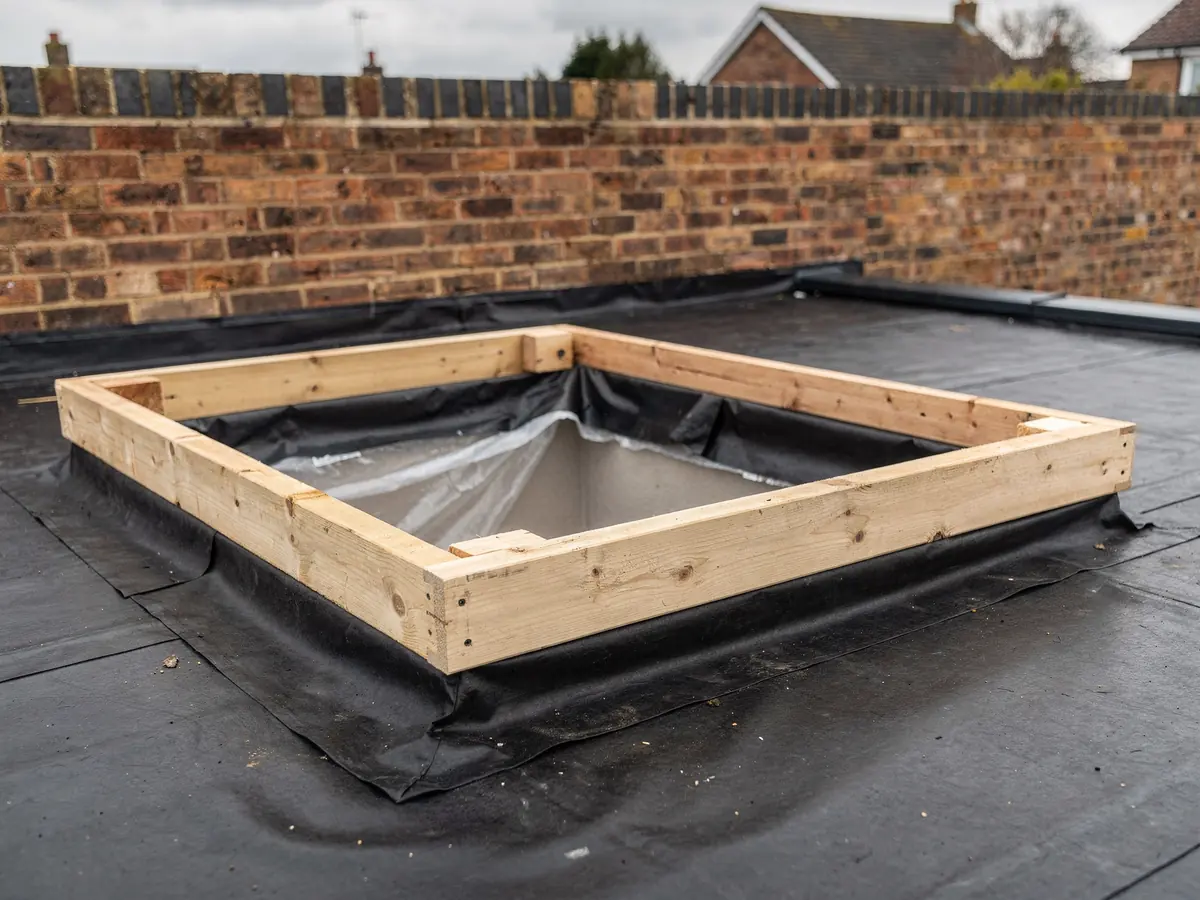
The kerb, or upstand, is the box the lantern sits on. It is usually built in timber on the trimmed opening, insulated, and lifted far enough above the finished roof that water running across the deck never reaches the lantern frame. Some makers supply insulated factory kerbs instead. Either way, the kerb does three jobs at once: it lifts the lantern clear of the covering, it gives the covering something to turn up against, and its inside face becomes the edge of the opening you see from the kitchen.
Weathering means tying the roof covering into the new upstand so the two act as one surface. On EPDM the membrane is bonded up the face of the kerb and over its top edge, where the lantern frame then sits on it. On felt a new cap sheet is dressed up the upstand with an angle fillet at the base, so it does not crack at the corner. On GRP the laminate is carried up the kerb with a corner trim and top-coated. The table sets out each one side by side.
Suppose the felt on the West Swindon extension is sound but old. The job plan then gives two routes in writing: cut in and dress the kerb into the existing felt, or replace the covering across the whole roof with EPDM at the same visit. The second costs more on the day and saves a second scaffold a few years later. The owners choose, the plan records the choice, and the fitters arrive knowing exactly which roof they are working on.
The kerb also sets how high the lantern sits, and that matters for how it looks from the garden and, on some houses, for the permission position. A low kerb keeps the lantern neat but still has to clear the covering and any insulation added on top of the deck. A taller kerb lifts the glass and deepens the lining inside. We draw the kerb height on the plan, along with the finish of its outside face, so the choice is made at the table and not on the scaffold.
The inside face of the kerb becomes the edge of the opening you see from the kitchen.
| Covering | How the upstand is weathered |
|---|---|
| EPDM rubber | Membrane bonded up the kerb face and over its top edge |
| Torch-on felt | New cap sheet dressed up the kerb with an angle fillet |
| GRP fibreglass | Laminate carried up the upstand, trimmed and top-coated |
| Covering near the end of its life | Replaced with the kerb at one visit, written into the plan |
Stage 04 · The size
Sizing the lantern to the kerb and the room
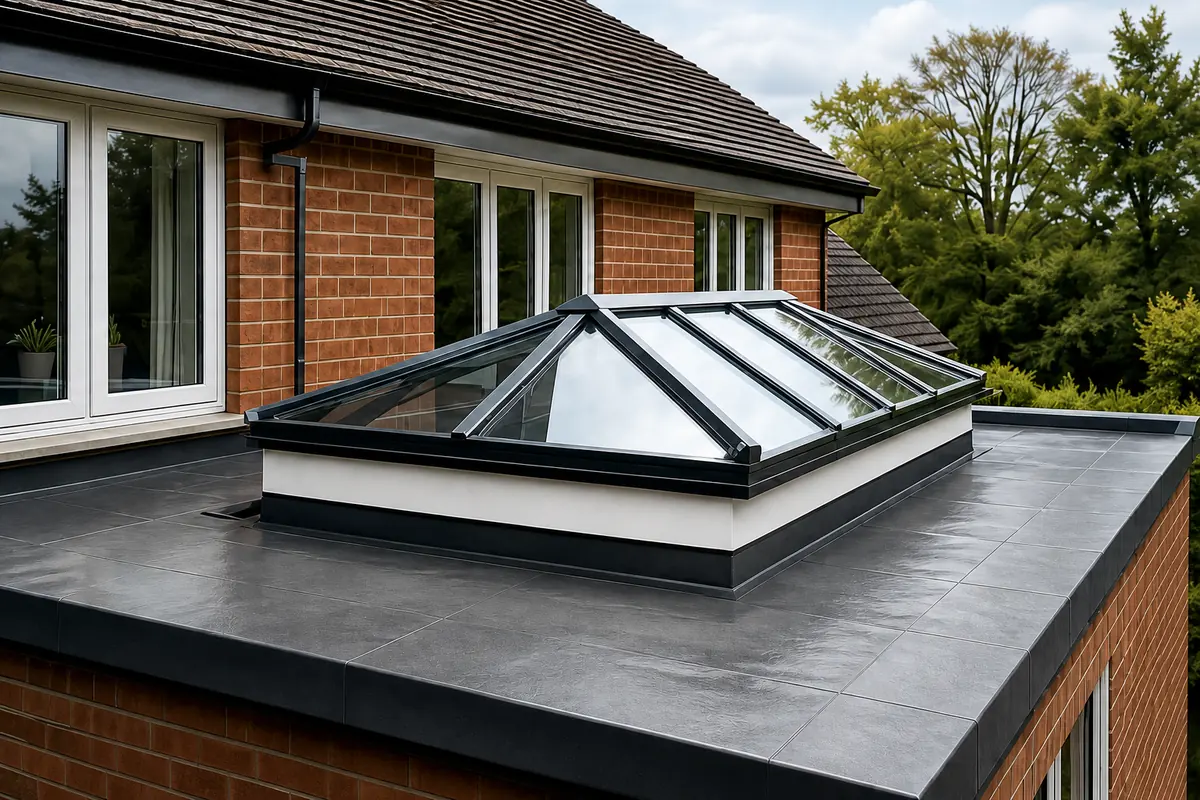
Lantern sizes cause more confusion than any other part of the order. Makers quote sizes in different ways: some give the outside of the kerb, some the outside of the lantern frame, some the clear opening. On a long kitchen extension the gap between those figures is enough to turn a neat lantern into one that crowds a wall or sits off-centre over the table. So the survey fixes one figure first, the internal kerb opening, and works out everything else from it.
The internal size is what you see from the room. Look up and the glass appears to stop at the inside face of the kerb, not at the outer edge of the frame. That is why the kerb sets the visible size. The external size follows from it: the inside size, plus the thickness of the kerb walls, plus whatever the maker's frame needs to sit on. Both figures go on the job plan, labelled, so the order and the fitting team work from the same numbers.
Proportion matters too. A lantern usually looks right when it echoes the room below: long and narrow over a galley kitchen, square over a dining area. It needs distance from the walls so the kerb clears the wall plate and any parapet, and space around its edges for the covering to turn up neatly. Our guide to roof lantern sizes walks through measuring the usable roof and matching the lantern to the room underneath it.
Size also drives most of what moves the quote. A bigger kerb means more glass, more frame, a wider cut through the roof and possibly a heavier structure to carry it. The panel alongside lists the factors and what each one changes. We never publish a price for a lantern, because the survey changes it, but the answer on what a roof lantern costs to fit explains how each factor shows up on a written quote and what that quote should itemise.
What the size and spec change on the quote
| Kerb size | The amount of glass, frame and roof to cut |
|---|---|
| Shape | A rectangle or pyramid changes the bar layout |
| Structure | Timber trimmers, or a steel beam and its calculation |
| Glass | Coatings and a laminated pane add to the unit |
| Roof covering | Cutting in, or a new covering at the same visit |
| Access | Scaffold, side access and lifting the glass up |
No prices here: the written quote follows the survey.
Stage 05 · The glass
Choosing the frame, the glass and the coatings
With the structure and size settled, the owners choose the unit itself. The frame is usually aluminium: slim bars, a strong ridge, and powder-coated colours that can differ inside and out, so the outside matches the windows and the inside matches the kitchen. The bar layout follows from the size, and on a rectangular lantern the ridge runs the length of it. The guide to aluminium roof lantern frames, glass and finish covers the frame choices and colour options in detail.
Glass is where the regulations come in. A roof lantern added to an existing house counts as a rooflight under Part L of the Building Regulations, and the 2021 edition, in Table 4.2, sets a limit for rooflights in existing dwellings of 2.2 W/m²K for the whole unit. Sealed double-glazed units in a thermally broken frame are made to meet it, and triple glazing goes further. The figure is checked against the maker's data before the order, and it goes with the notification.
Then the coatings. Solar control glass cuts the heat that builds up under a large area of glass on a south-facing extension, which is worth weighing where the table sits right below it. A self-cleaning coating on the outer pane helps rain carry the dirt off, which matters on a roof that is awkward to reach with a brush. Both are options, not requirements, and the plan lists the ones chosen. Our page on energy efficient rooflights goes further into glass and frame performance.
The last choice is the inner pane. We recommend a laminated inner pane on a lantern over a living space, because if it is ever broken it holds together on its interlayer rather than falling into the room. Part K does not require laminated glass in a dwelling roof, so this stays a recommendation, and the job plan says exactly which glass is specified so there is no doubt later. The outer pane is toughened, and the whole build-up is named on the order.
The plan names the glass, the coatings and the U-value before the order goes in.
| Option | What it does | Required? |
|---|---|---|
| Sealed double or triple unit | Meets the thermal limit for the whole rooflight | Yes, 2.2 W/m²K |
| Solar control coating | Cuts summer heat gain under the glass | Optional |
| Self-cleaning coating | Helps rain carry dirt off the outer pane | Optional |
| Laminated inner pane | Holds together on its interlayer if broken | Recommended |
Stage 06 · The paperwork
Permission and Building Control, checked for the address
A roof lantern stands up from the roof in a way a flat rooflight does not, and that changes the permission question. Rooflights on a house usually fall under permitted development, but those rules limit how far a rooflight can project from the roof. A lantern on an existing flat roof may go beyond what permitted development allows, and then it needs planning permission. The job plan checks it for the address and says what we find. The limits are set out in our rooflight planning permission guide, and the lantern question has its own answer in does a roof lantern need planning permission.
Other things can change the position for a particular house. On newer estates such as Priory Vale, Wichelstowe and Badbury Park, the original planning permission may carry a condition that removes permitted development rights, so we look up the decision notice on Swindon Borough Council's planning register. In the Railway Village conservation area the council has published an Article 4 direction, so owners there should check the current direction with the council. Listed buildings need listed building consent for works that affect their character. We check and advise; the council decides.
Building Control is a separate question, and it applies whatever the planning answer is. A new lantern in an existing roof is building work: it touches the structure, the thermal performance and fire. That makes it notifiable. Building Control is either the local authority or a registered building control approver, the term used since April 2024. We handle the notification, send the engineer's calculation and the glass data with it, and book the inspections the approver asks for.
Where the lantern is part of a new extension, it is usually covered by the extension's own planning position and its own Building Regulations application, and we work to those drawings. Where it is a retrofit on an older roof, the notification is ours to make. Either way, the route is named on the job plan: which body, which documents, which inspections and roughly when. The forms are all dealt with before fitting day.
What we check for the address
- Planning history of the house and extension
- Any condition removing permitted development
- Conservation area or Article 4 direction
- Listed building status
- Lantern height against the existing roof
- Building Control route and the approver
Stage 07 · Fitting and sign-off
Fitting day and the signed-off finish
On a retrofit like the West Swindon kitchen, the work splits into two parts. First the opening and the kerb: scaffold up, the room protected, the deck cut, the trimmers or steel installed, the kerb built and the covering dressed up it. The opening is boarded and closed at the end of each working day. Then the lantern itself goes on, on a date agreed when it was ordered. The answer on how long a roof lantern takes to fit explains how long each part usually takes and what can add a day.
Lantern day follows a set order. The frame goes onto the kerb and is fixed and checked for square. The ridge and bars go on, then the glass panes are lifted up and set into the frame one by one, then the caps and trims are clipped over the joints. The frame is sealed to the kerb, and the outside trims finish the edge where the lantern meets the upstand. Any opening vent is wired or set up and tested before anyone comes down.
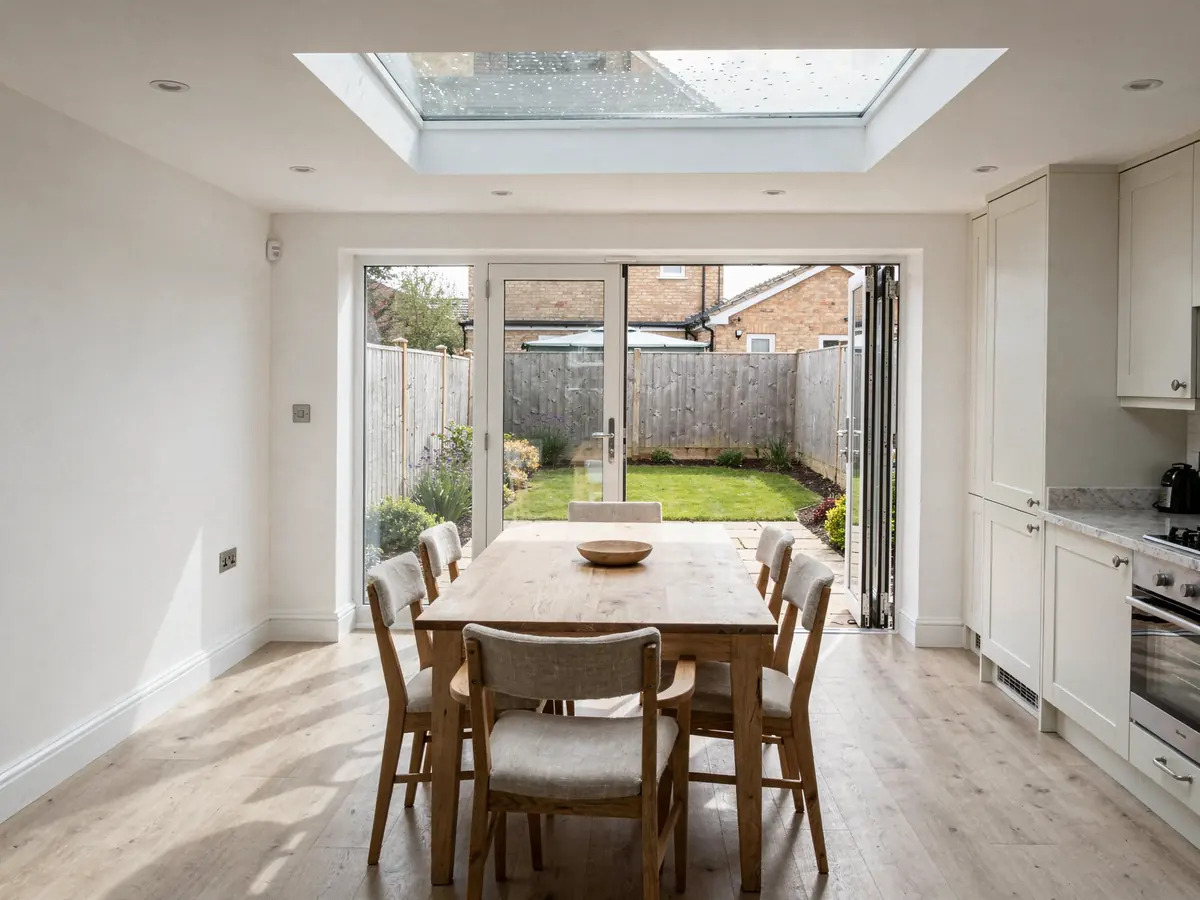
Inside, the kerb is lined and finished so the opening reads as part of the ceiling. Light fittings near the opening are reconnected and the room is cleared. We show the owners how the lantern works: how to open any vent, how to clean the glass from outside, and what the drainage at the edge does. The roof is closed before the team leaves.
On fitting day the unit arrives on the date confirmed at order, the kerb is already built to its size, the glass comes up the side access we measured at the survey, and the scaffold stands where the plan put it. If heavy rain is forecast for the glazing, the date moves before anyone starts rather than halfway through, and the opening stays boarded until the new day.
Sign-off comes last. The Building Control approver inspects as the notification requires and issues the completion certificate, which belongs with the house deeds. The maker's warranty on the unit comes with the same paperwork. If you are still weighing up whether a lantern is right at all, our guide to a roof lantern or a flat rooflight compares the two, and flat roof rooflight installation covers the lower option. For everything else we fit, start with our skylights and rooflights across Swindon.
One agreed date and a signed-off result.
