Why most lanterns are aluminium
Walk round a showroom or a row of extensions and most roof lanterns you meet have aluminium frames. The reason is structural. Aluminium is strong for its weight, so a thin section can carry a large pane of glass without bowing. That lets the bars between panels stay narrow, which is the look most people are after.
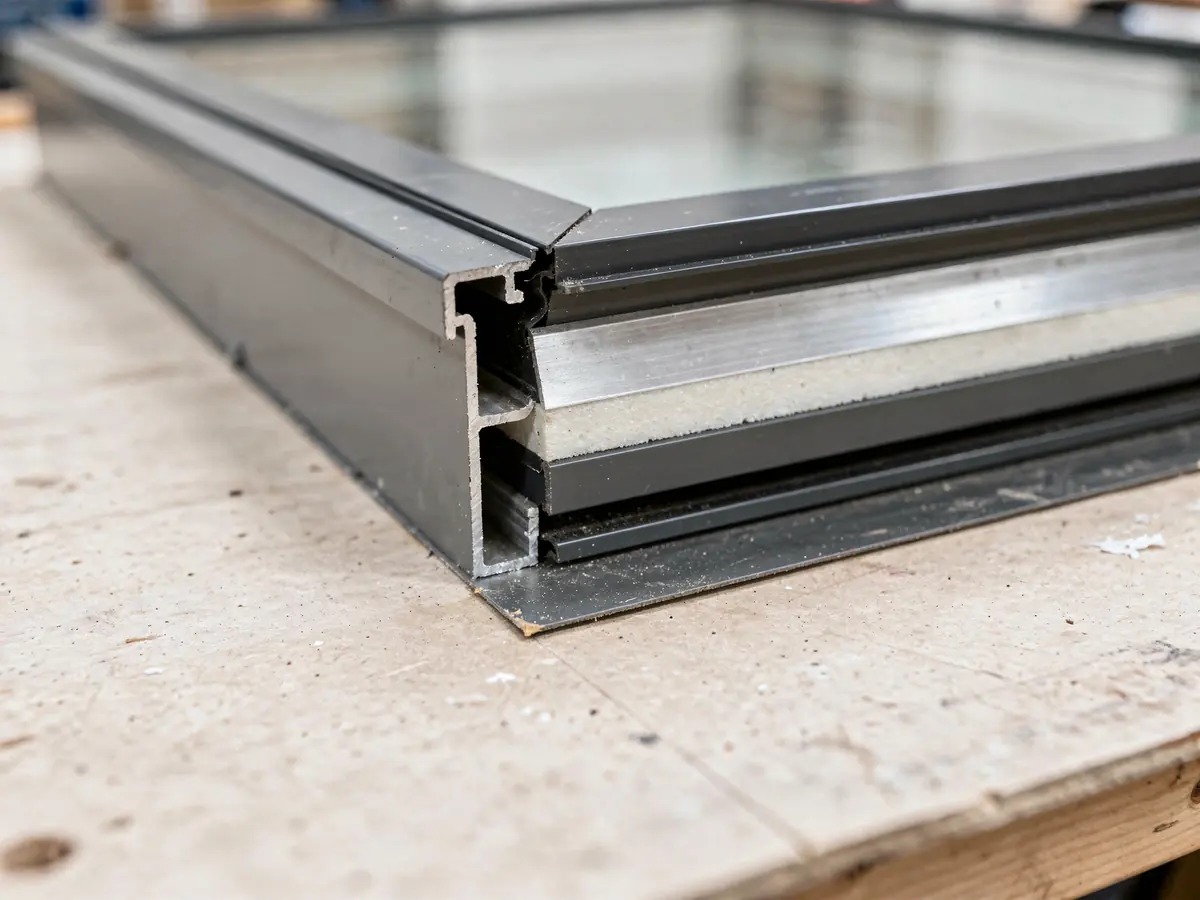
The metal is also made in a factory to a fixed profile, so a long run of bar is straight and consistent. It takes a baked powder-coat finish that does not need repainting on the same cycle as timber, and it can be coated in a wide colour range. A well-made aluminium lantern includes a thermal break, a strip of low-conductivity material between the inner and outer parts of the frame, so that the cold outer metal is not tied directly to the inner one.
None of that makes aluminium the only sensible answer. Timber and uPVC both have their place, and the sections below compare them fairly. The aim is that the frame you choose is one you picked, not one you were handed.
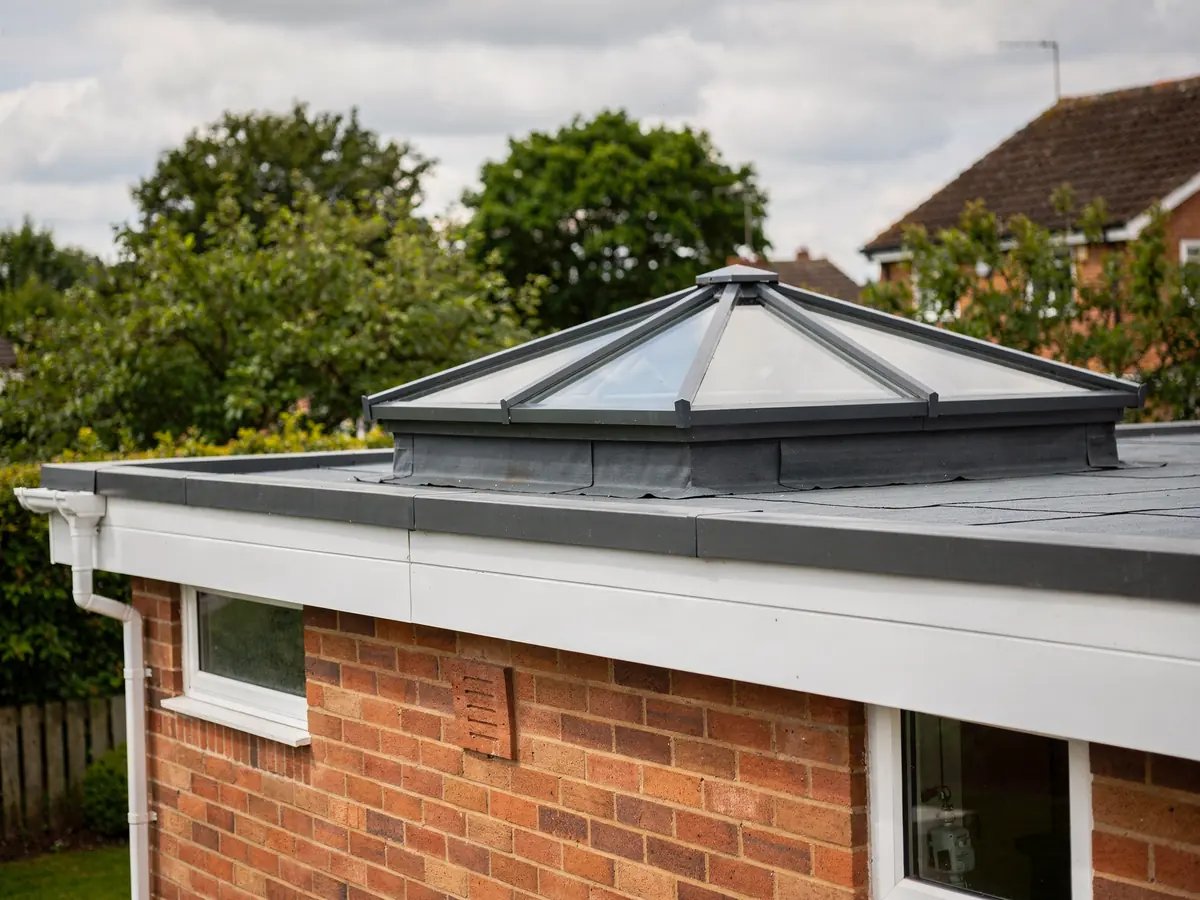
Aluminium, timber or uPVC
People searching for aluminium roof lanterns often ask whether they are better than uPVC. Better depends on what you want from the unit. Aluminium wins on bar slimness and on the size of span a frame can cover. uPVC frames are thicker, because the plastic needs bulk or internal reinforcement to stay straight, so the bars look heavier from inside. They can suit a smaller lantern where the sightline matters less.
Timber has a different appeal. A timber lantern can look right on an older house or a garden room with a traditional character, and it can be painted any colour. It asks for repainting through its life, and the sections are usually deeper than aluminium for the same span. Some owners accept that for the warmth of the material.
We install what is specified. If you are leaning towards one material, mention it when we survey, and the unit and its frame go onto the job plan. For most flat-roof kitchen extensions the choice ends up being aluminium, for the slim bars and the long spans, but the comparison below is a fair starting point.
| Frame | Look from inside | Typical suits |
|---|---|---|
| Aluminium | Slim bars, crisp lines | Kitchen extensions and wide spans |
| Timber | Deeper sections, natural grain or painted | Traditional houses and garden rooms |
| uPVC | Heavier bars, plain finish | Small lanterns on a tight budget |
Bars, ridges and roof profiles
The frame is not only the material. It is the pattern of bars across the glass. A lantern is built from glazed panels on each pitch, divided by bars, and met along the top by a ridge. How wide those bars are, and how the ridge is finished, set the character of the unit.
A slim bar profile gives a light, uncluttered view up through the glass. A heavier, more ornate profile with a decorative finial or a deeper ridge crest suits a period house. Most modern aluminium lanterns have a simple ridge and a quiet bar, with the glazing doing the talking.
Pitch is the other half. A lantern with a steeper roof angle looks taller and sheds water faster, but raises the height above the roof, which has a bearing on planning. A shallower roof angle looks calmer and sits lower. The pitch you choose changes how much headroom the lantern adds inside, so it is worth viewing it from below on a mock-up or a drawing before committing.
The number of glazed sections is worth a thought as well. A single large pane per pitch has the fewest bars, while smaller panels with more bars give a more traditional rhythm. Both are fine; the choice is aesthetic and we note it on the plan.
- Bar width: slim for a modern look, deeper for a period one
- Ridge: plain line or decorative crest
- Roof angle: steeper looks taller, shallower sits lower
- Panel count: fewer, larger panes or more, smaller ones
- Corner treatment: pyramid or hipped end on rectangular units

Colour: inside, outside, and the choice that splits
The colour question has two halves, and homeowners often forget the second. Outside, the frame is seen against the roof, the brickwork and the sky. Inside, it is seen against the ceiling, the walls and whatever is behind them. These are different backgrounds and they sometimes call for different colours.
Powder-coat finishes let the two faces differ, which answers the common question of whether a roof lantern can be a different colour inside and out. It can. Dark grey outside to match the window frames, white inside to meet a white ceiling, is the usual pairing. The dual-colour finish is applied to each face separately in the factory, and the choice is made at order, not afterwards.
Standard colour ranges cover the greys, whites and blacks that most extensions use, and many makers offer a wider range to order. Matching your bi-fold doors or windows is the safest way to choose, because the eye notices a mismatch between frames more than it notices which grey you picked. We suggest holding a sample against the existing frames in daylight before you decide.
Dark frames show dust and water marks differently from pale ones, and pale frames show a yellowing of old sealant. Neither is a reason to avoid either; they are things to know.
What glass goes into a roof lantern
A roof lantern is glazed with sealed double-glazed units, the same basic idea as a window. Two panes are separated by a spacer, sealed at the edge and often filled with an inert gas. The outer pane is commonly toughened, which makes it stronger and, if it breaks, causes it to crumble into small pieces. The inner pane is often laminated, a sandwich of glass and an interlayer that holds together if cracked.
Laminated inner panes are a recommendation rather than a regulatory requirement for a dwelling roof, and we explain the difference at survey. Many people choose them because overhead glass is a place where you would like the safest option.
Coatings add choices. A self-cleaning coating on the outer face helps rain wash dirt away, which suits a lantern you cannot easily reach. A solar control coating reduces how much heat the glass lets through, useful on a south-facing extension; our solar control rooflight glass page explains the trade-offs. A low-emissivity coating helps the unit hold heat in.
Glass is also where thermal performance is set. Part L 2021 sets the heat-loss ceiling for rooflights in existing homes at 2.2 W/m²K, and the energy efficient rooflights page explains what that figure means. The glazing we propose sits within it, and the number is written on the plan.
| Option | What it does | Worth asking about when |
|---|---|---|
| Toughened outer pane | Stronger, breaks into small pieces | Standard on most units |
| Laminated inner pane | Holds together if cracked | Overhead glass above seating or a table |
| Self-cleaning coating | Rain helps wash the outer face | A roof you cannot easily reach |
| Solar control coating | Reduces heat passing through | A south or west facing extension |
| Low-emissivity coating | Helps the unit hold heat in | A room used through winter |
Vents, opening sections and extras
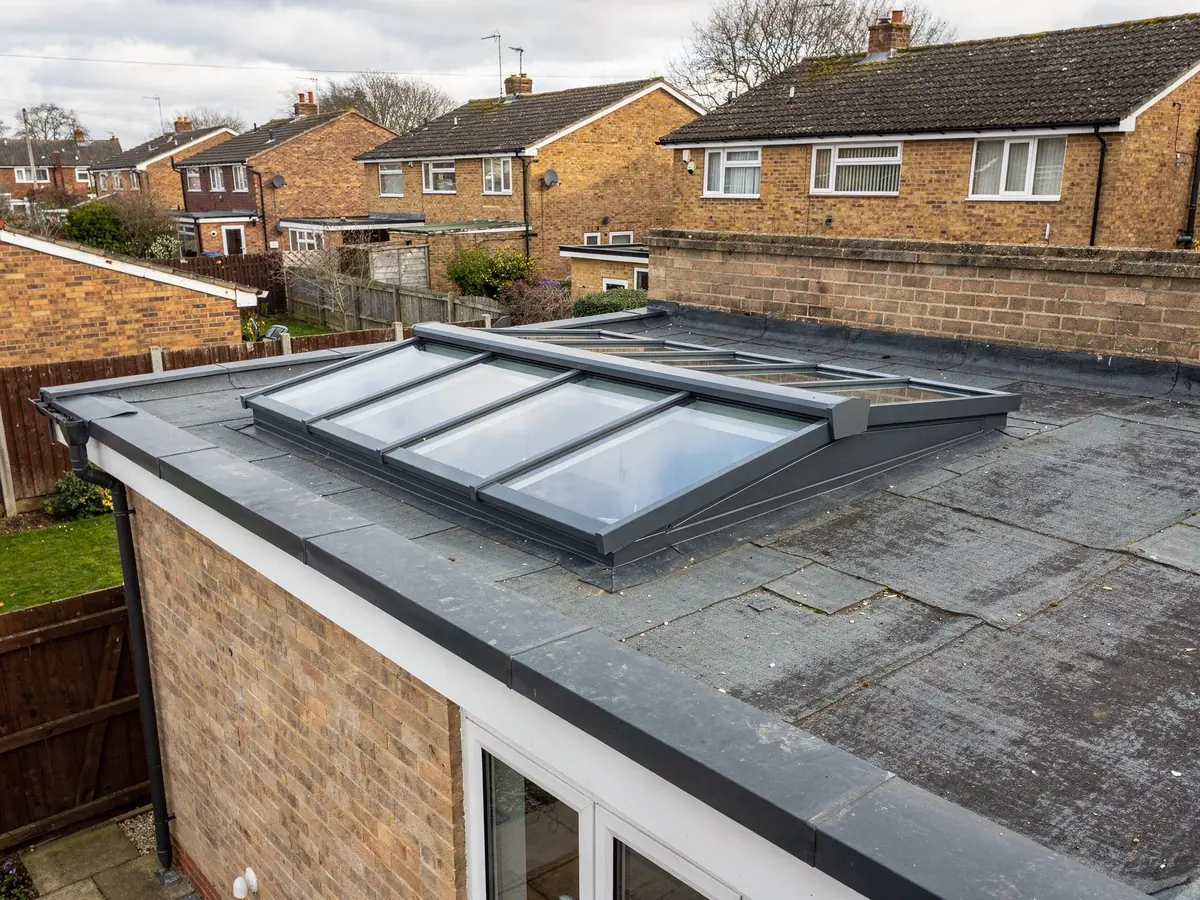
Many aluminium lanterns can include opening vents in one or more of the panels. A vent lets you air the room from the roof, and some are operated by hand while others use a small electric motor. They add cost and they add a frame to the panel, so they are a decision, not a default.
If you want an opening panel, position matters. A vent on a pitch that faces the prevailing breeze helps air move through; one above a worktop is harder to reach. We note the position on the plan. Electric vents bring wiring and sometimes a rain sensor into the plan as well, covered on the electric opening rooflight page.
Blinds are another extra. Fitting them inside a lantern is a specialist job, and the frame has to be ready for it. If you think you might want blinds later, say so now, because it affects the internal lining.

Making good around the upstand inside
The lantern sits on a kerb, and the kerb rises through the ceiling. Where it meets the room, a lining or reveal closes the gap between the kerb and the ceiling line. This is the finish you will see every day, so it deserves a decision before the day, not during it.
Most often the reveal is plastered or boarded and painted white to match the ceiling, leaving a neat line where the lantern frame comes down to meet it. A splayed reveal opens the shape towards the room; a square one gives a crisper edge. We discuss which suits the room and write the finish on the plan.
Because the internal finish needs a plasterer or decorator, the job plan separates what we do from what happens afterwards. The roof is made good and the internal opening is lined and ready. If the finish is yours to arrange, the plan says so, and you know what to book and when. The roof lantern sizes guide explains how the internal opening is set, which determines this reveal.

Putting your choices on the job plan
By the end of the survey, the unit description on the job plan has gained several lines. It names the frame material and bar profile, the ridge style, the colour inside and out, the glass build-up with any coatings, the number and type of vents, and the interior finish.
That list is what the supplier orders against, which is why we ask you to confirm it in writing. A colour or glass mix-up is expensive on a made-to-measure unit and avoidable on paper. The Building Control row names the route for the new roof opening and who sends the notice, which is us. The Permission row records the planning check for the address.
Lead time depends on the supplier and the finish, and we agree the fitting day as the order goes in. The fitting itself sits under our 10-year workmanship guarantee. For the full process see roof lantern installation, and for the money side the roof lantern cost guide shows the typical market range.
